
Making the Move to Manual
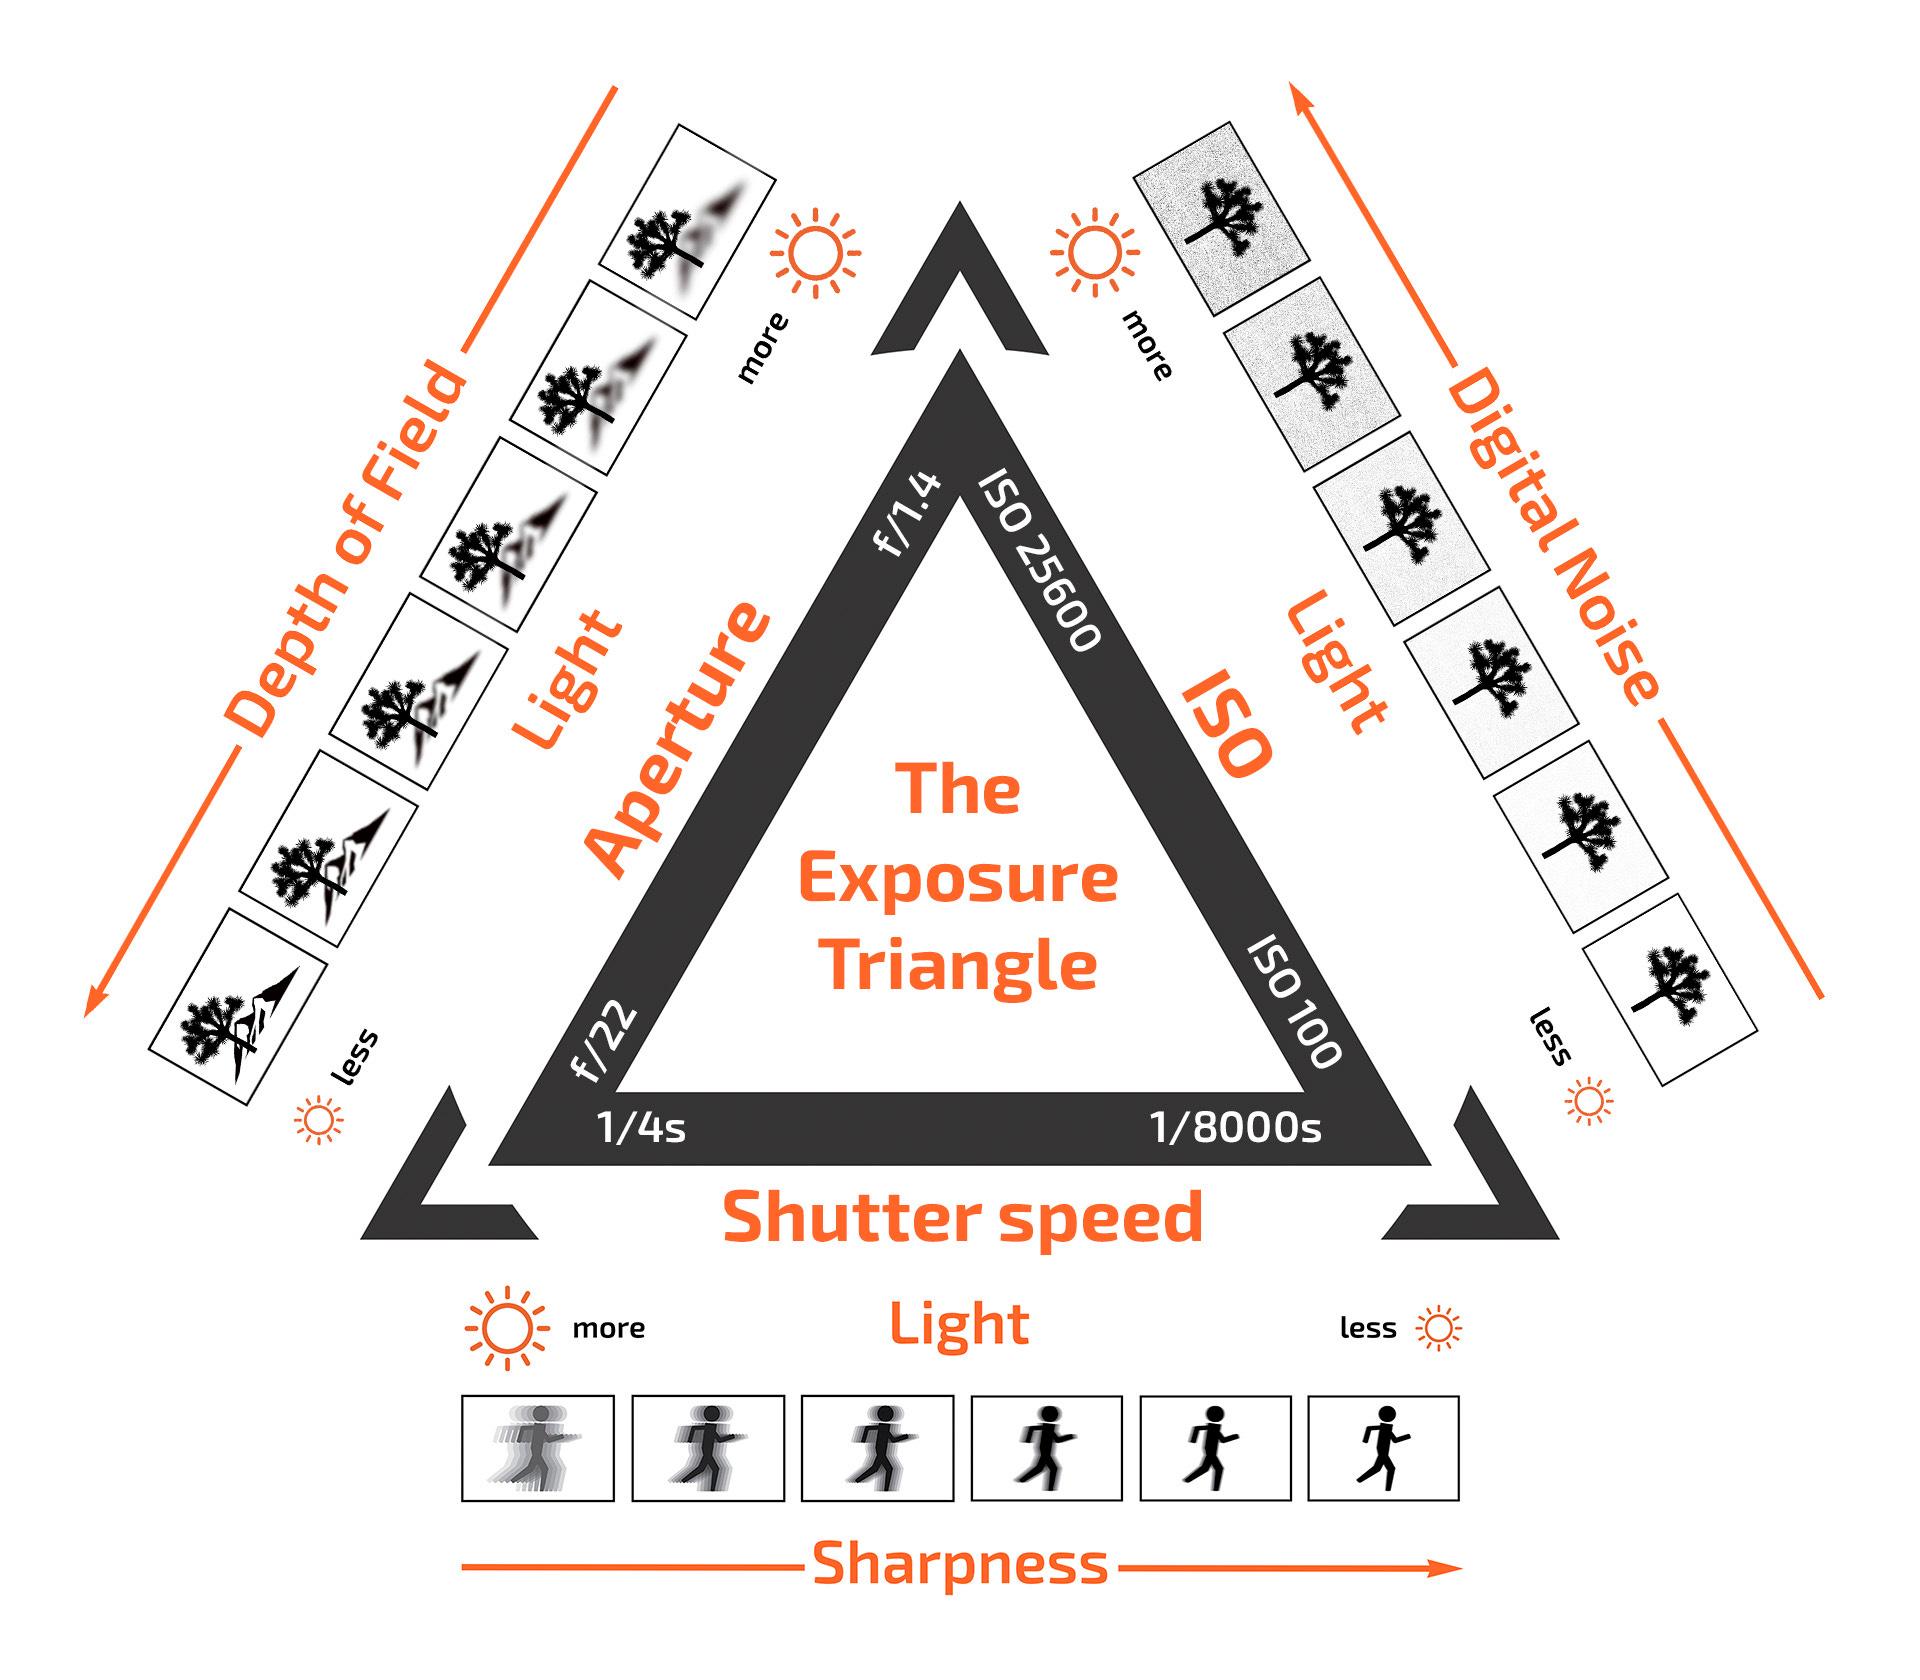
Explore Landscapes #49: In manual mode, you can choose your composition, depth of field, sharpness, and the amount of digital noise. This is the ideal exposure mode for landscape photography.
If you‘re new here, welcome. I’m a professional landscape photographer and hiking/backpacking guide specializing in Joshua Tree National Park. My weekly Monday newsletter is typically a long-form ‘teaching’ article for paid subscribers and workshop attendees. My free Thursday newsletter should interest a wider audience and is typically about my hiking, volunteering, or workshop adventures.
Please subscribe to read more of my posts, visit my website to view my images, or book a workshop or mentoring session. If you value what I provide, consider becoming a paid subscriber or buying me a coffee instead. I look forward to helping you improve your photography!
Background
I started taking photos at 14 with my trusty Zenit 10 SLR camera, teaching myself the fundamentals of photography via countless rolls of poorly exposed 35mm film. There always seemed to be so much to consider when taking a picture.
When I started getting a satisfactory composition and an image in focus, I felt that I’d taken a step forward. However, exposure seemed so complex that I never felt I could master it. Much of what I read stated (or at least how I interpreted it) that ‘real photographers’ shoot in Manual. The thought of shooting a photograph in Manual mode terrified me.
I read anything and everything about photography that I could find. Back then, there was no Internet. Monthly photography magazines and how-to-photograph self-help books were my go-to fix. I had to try to figure out metering and exposure. But the more I read, the more confused I became. So much of the information I encountered was confusing and overly complicated.
Sometimes, the meter in my camera gave me a good exposure; sometimes, it didn’t. Then I started learning about exposure compensation, how bright and dark elements in a photo needed more or less exposure, the zone system, and different exposure modes. To be honest, I was more confused than ever.
After a few years of shooting in Program mode, I transitioned to using Aperture priority mode. I think this was because I’d read an article in a magazine that said this is what I ‘should’ be doing when taking landscape photographs. I got obsessed with wide-angle shots and shallow depth-of-field, and throwing my backgrounds out of focus.
This post is a bit on the long side, and Substack is telling me it may get truncated when delivered to your email inbox. If so, please click ‘View in browser’ at the top right of the email.
But the overall exposure was still off at times. I was still getting clipped highlights, or the shot was too dark. Back to the ‘dreaded’ topic of exposure.
In 2011, I attended a seascape/landscape photography workshop on the south coast of the UK in Dorset. The workshop was led by a wonderful photographer, Helen Rushton. Helen taught me three very valuable lessons that have shaped how I photograph today:
As far as possible (aka always), shoot seascapes and landscapes with your camera on a tripod.
How to use ND, ND Grad, and Polarizer filters.
Always trust your histogram when determining exposure.
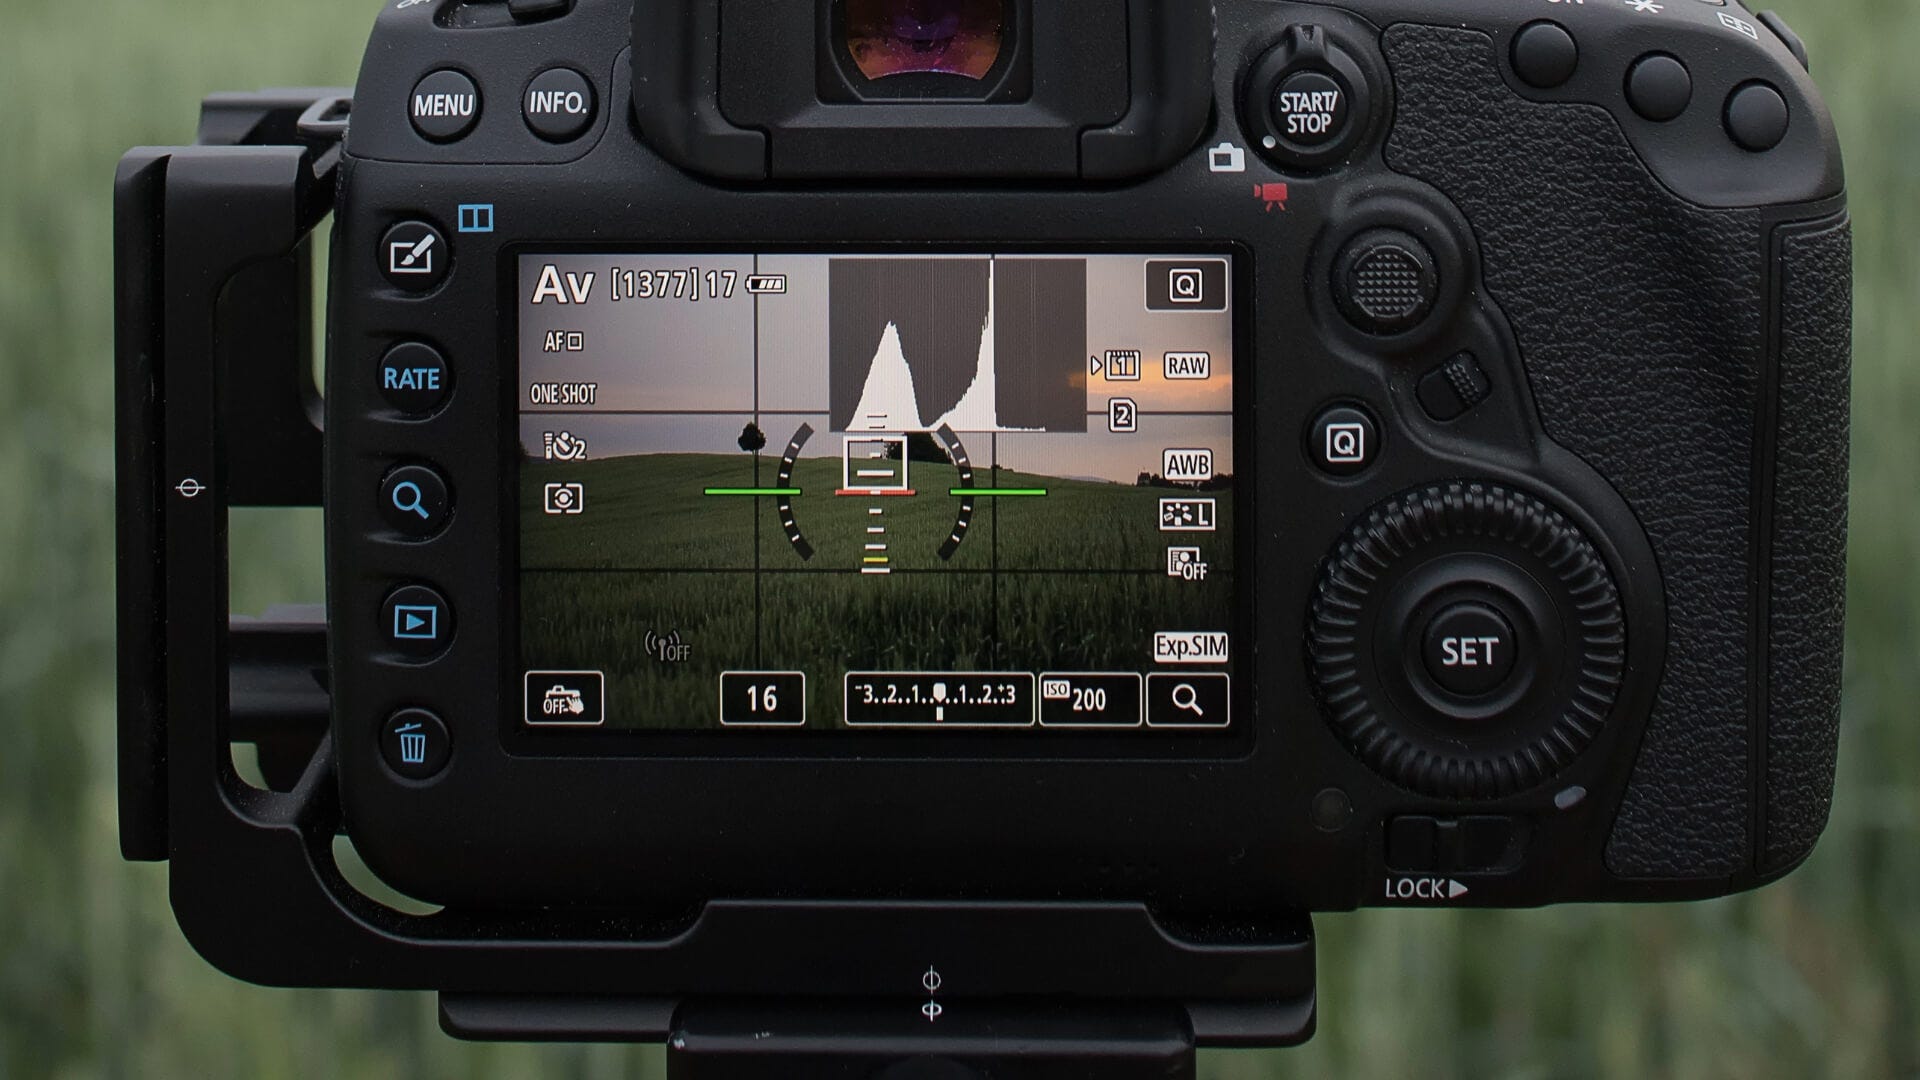
The third lesson, trust your histogram, helped me (finally) understand exposure. This, in turn, allowed me to shoot in any mode and ensure that I always got a correctly exposed image.
Once you understand how to use the histogram, you can shoot confidently in Manual, Aperture, or Shutter Speed Priority, depending on your scene and artistic intent.

Camera Shooting Modes
Let’s recap the main shooting modes that every DSLR or Mirrorless camera will have (see also my article on Essential Photography Terms).
Program mode (P) is an automatic mode in which you determine the ISO, and the camera determines the aperture and shutter speed to get a good exposure. Use the histogram to verify the exposure, and don’t rely on any of the camera’s metering modes (see Trust Your Histogram).
When you start out on your photographic journey, after shooting in Program mode for a while, you’ll likely start experimenting with one of the semi-automatic modes. If you’re into landscapes or macro photography, that’s likely to be Aperture Priority. If you’re into wildlife or sports photography, that’s likely to be Shutter Speed Priority.
Aperture priority mode (A or AV) is a ‘semi-automatic’ exposure mode in which you control the aperture and ISO settings, and the camera selects a shutter speed to match, such that you get a well-exposed image. Aperture priority mode is typically used when you want to control the image's depth of field. This is one of the exposure modes used for landscape photography. However, it should be used with exposure compensation to get the ideal exposure for the scene you’re shooting. You should use the histogram to verify the exposure and not rely on any of the camera’s metering modes.
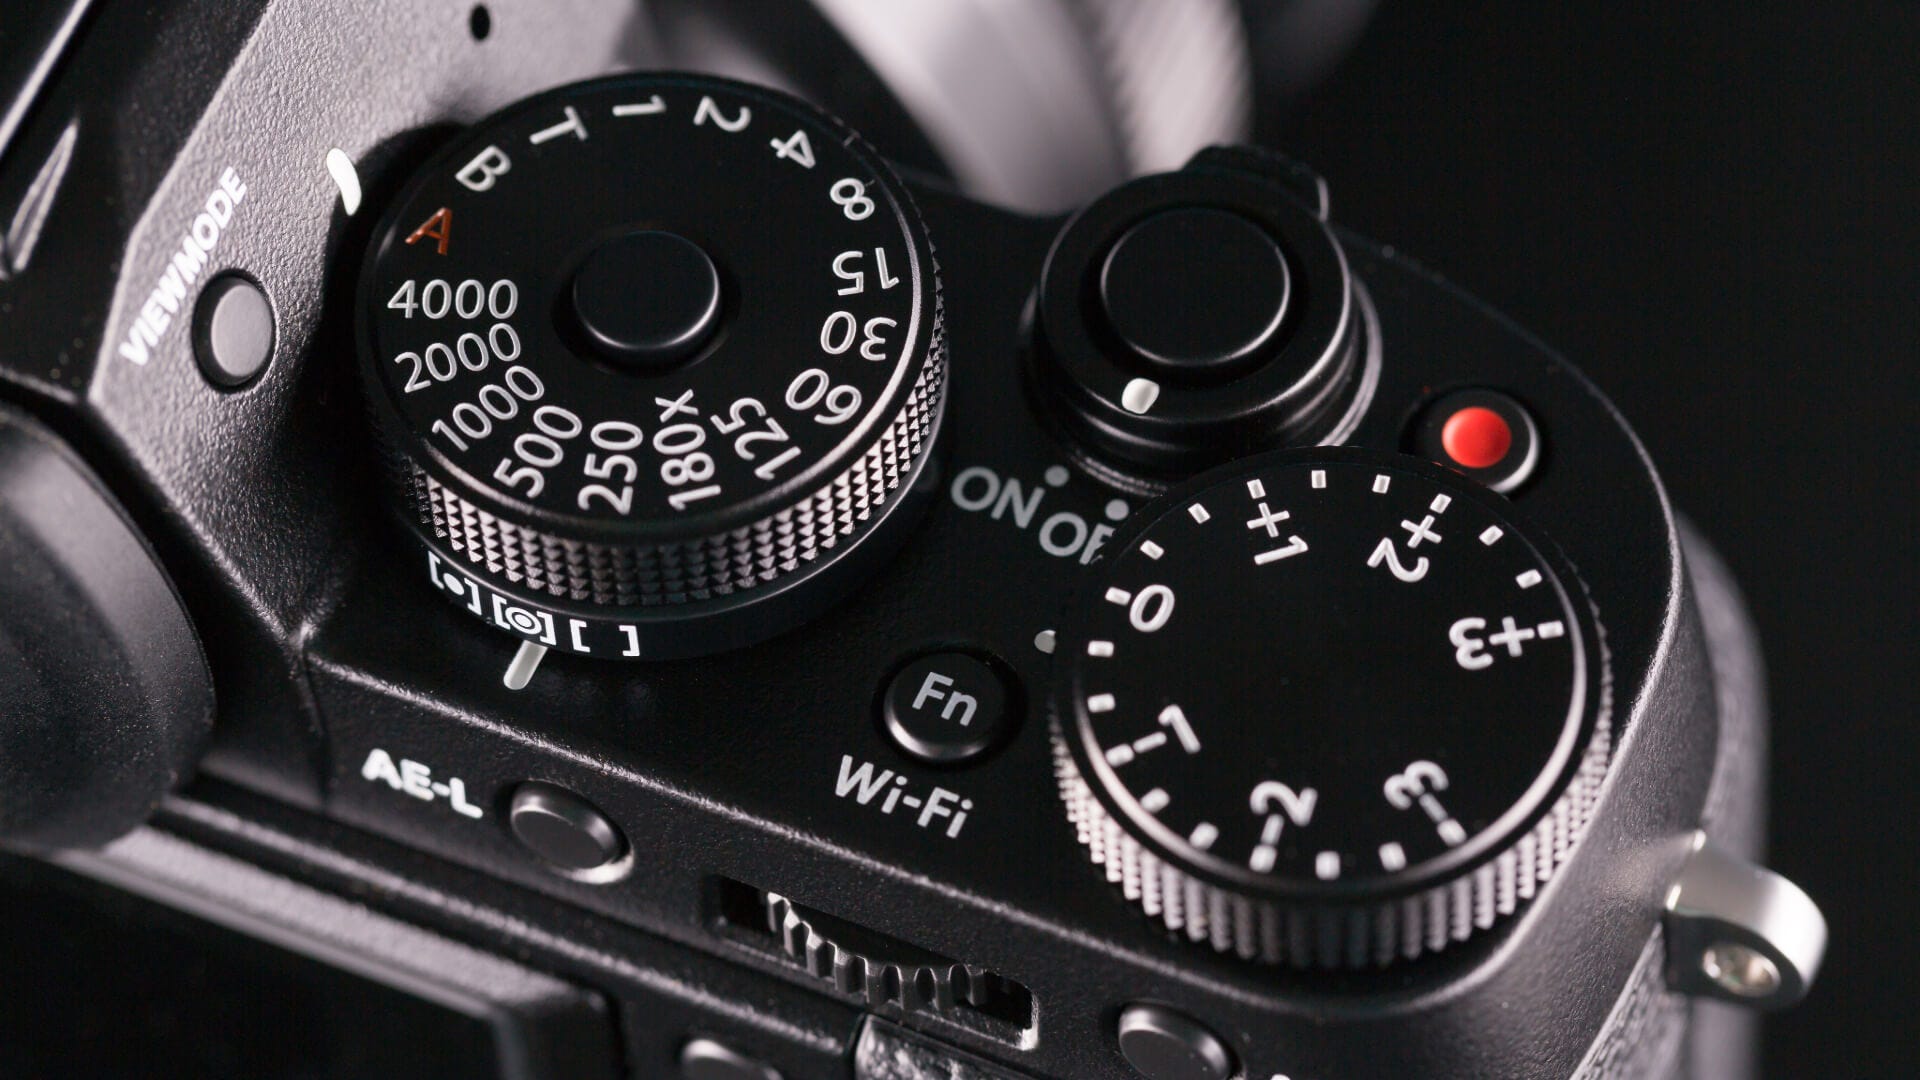
Shutter priority mode (S or TV) allows you to determine the shutter speed and the ISO and the camera will select an aperture to match such that the image is well-exposed. Shutter priority mode is advantageous for situations in which you want to control the appearance of motion in an image, such as blurring the movement of a river or waterfall (as seen above) or freezing the movement of an animal. This is not one of the exposure modes typically used for landscape photography. If you want to shoot in shutter priority mode, use the histogram to verify the exposure, and don’t rely on any of the camera’s metering modes.
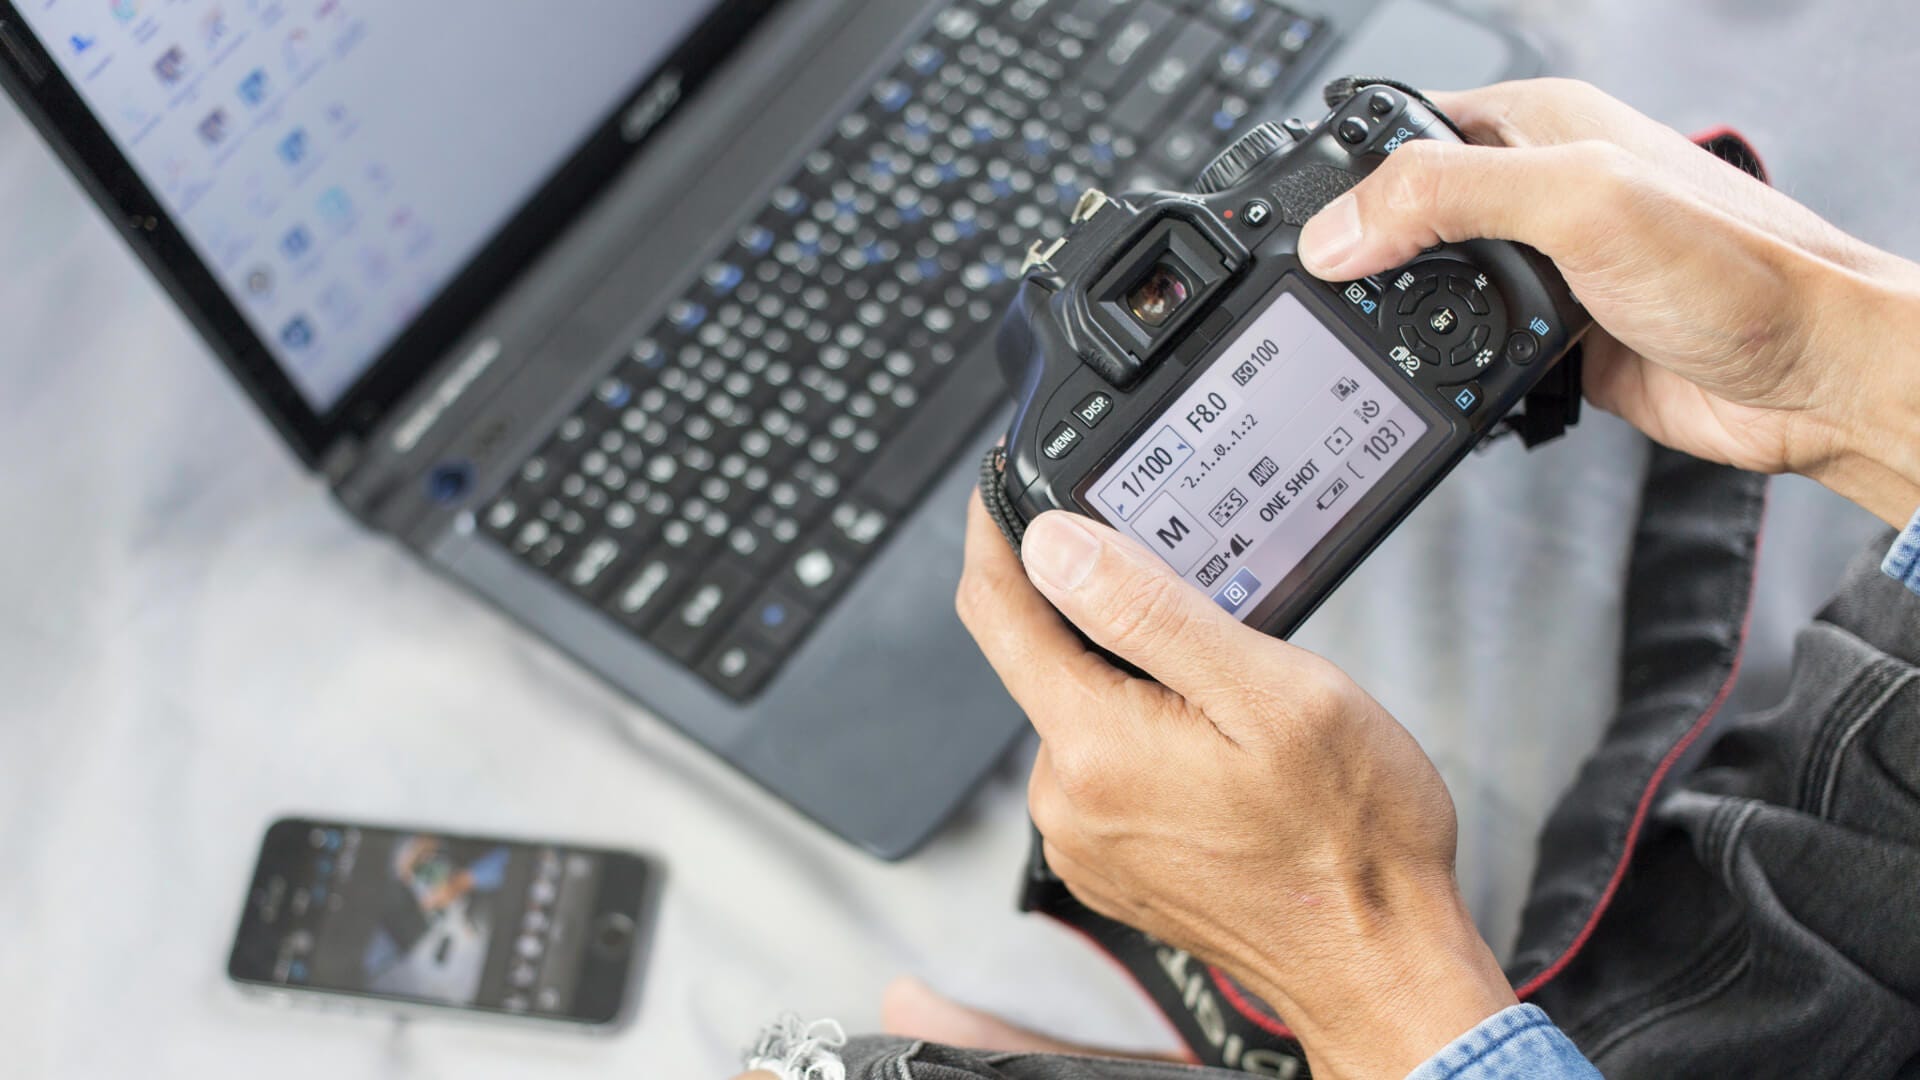
Manual mode (M) gives you complete creative control over the exposure settings of your images. You choose the aperture, shutter speed, and ISO and determine the balance between them to get the correct exposure.
In manual mode, you can choose your composition, depth of field, sharpness, and the amount of digital noise. This is the ideal exposure mode for landscape photography.
In my workshops and mentoring sessions, I always strive to simplify photography to the essentials, i.e., what you need to know to make the progress you want with your photography. In a previous post, Light and Exposure, I simplified the concept of exposure down to its basics so that you have a strong foundation to build upon when you’re out shooting.
I encourage you to try out all four shooting modes on your camera. Program (P), Shutter Priority (Tv), Aperture Priority (Av), and Manual (M).
Use the histogram to judge the correct exposure and compare your images. Keep practicing until each shooting mode becomes second nature to you. As you become more familiar with the shooting modes, you’ll learn when to use one of the modes over another.
Let me know how you get on.
Let me be your landscape photography guide to Joshua Tree National Park
My workshops cater to all levels of photographers and include classic viewpoints and hidden gems. I'll ensure you're in the best place to take advantage of the light and weather conditions.
You can choose a one-to-one workshop (and personalize it to what you'd like to photograph, specific techniques, or how far you want to hike) or join a small group workshop (limited to 3 photographers).
Here are a few of my posts that you might be interested in reading:


Interesting musings, images, and art from others:
Heat by Nat
Paddling the Nine Mile Swamp: a Loomis Gang hideout in the 1800's by Jenn Woltjen
The Sunday interview by Perfect Light
Priming The Mind For Creativity by Martin Prior
Zhang Xiao by Neil Scott
What's in a Name? by Joe Callender
Seoul searching by David Guest
Getting Your Photo Groove On After a Road Trip by Bryan Hansel
The Climate According to Numbers by Rob Lewis
A surprisingly exciting story about composition and street photography in Paris by Elin Petronella
Thank you for the shout out!