
How to Manage the Lighting Conditions in Desert Photography
Explore Landscapes #61: Desert photography provides ample opportunities to capture fascinating landscapes. However, the extreme temperatures and harsh lighting can be challenging.
If you‘re new here, welcome. I’m a professional landscape photographer and hiking/backpacking guide specializing in Joshua Tree National Park. My weekly Monday newsletter is typically a long-form ‘teaching’ article for paid subscribers and workshop attendees. My free Thursday newsletter should interest a wider audience and is typically about my hiking, volunteering, or workshop adventures.
Please subscribe to read more of my posts, visit my website to view my images, or book a workshop or mentoring session. If you value what I provide, consider becoming a paid subscriber or buying me a coffee instead. I look forward to helping you improve your photography!
Desert photography provides ample opportunities to capture fascinating landscapes.
However, the extreme temperatures and harsh lighting likely experienced in these barren environments make desert photography challenging.
Much of this challenge can be mitigated by selecting a suitable subject for the lighting conditions when you shoot, managing exposure carefully by utilizing your histogram, and bracketing exposures when required.
It’s important to remember that in landscape photography, there’s no such thing as bad light – just the wrong composition for the available lighting conditions.
This is especially true when photographing the desert. Using some examples, we’ll explore some techniques for capturing beautiful desert scenes.
Measuring light and determining exposure
The prevalent weather condition experienced while photographing desert landscapes is typically a bright, cloud-free sky with direct, overhead harsh lighting.
This creates a high dynamic range of tones in your photographic scene, from bright white to deep, dark shadows.
In the desert (as in other landscapes), managing exposure carefully is essential to prevent the highlights of your scene from being blown out.
While metering is the traditional method of measuring the light that reaches your camera’s sensor, you should always trust your histogram rather than your camera’s meter when determining exposure.
The histogram is far more accurate than relying on camera metering, which is far better than relying on the camera’s display screen. Read the following article for a more detailed explanation of how to use your histogram.

The histogram should become essential to your workflow when taking a photo. A histogram can be displayed during shooting (on mirrorless cameras) or reviewed after shooting (on DSLRs).
Some DSLRs may have a ‘live mode’ where the histogram can be displayed during shooting, but be aware that using live mode quickly depletes a DSLR’s battery.
This post is a bit on the long side, and Substack is telling me it may get truncated when delivered to your email inbox. If so, please click ‘View in browser’ at the top right of the email.
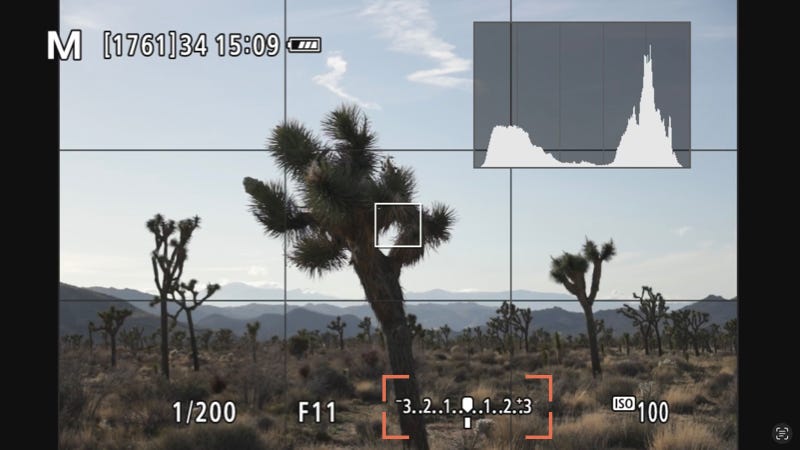
The histogram is a bar graph that shows the 256 different tones, from pure black (on the left) to pure white (on the right). The height of each bar indicates the number of pixels that appear in the image of that tone.
As you change your exposure settings (depending on the exposure mode you use, for example, Aperture Priority or Manual), the histogram will change shape and move to the right or left.
Using the histogram, you can adjust the camera settings that affect exposure (aperture, shutter speed, and ISO) to ensure you capture the full range of tones in the scene.
To ensure you don’t blow out the highlights in your scene, you adjust your exposure settings to position (or shift) the histogram so that the graph profile touches the bottom horizontal axis and does not quite touch the right-hand side vertical axis.
This is often referred to as Expose To The Right or ETTR. The shape of the histogram is not important and is purely a result of the different tones in the scene you’re shooting.
Sometimes, when photographing sunrise, sunset, or another high-contrast scene, it is impossible to position the histogram graph without clipping the whites (right-hand side), blacks (left-hand side), or both.
This is because the scene's dynamic range (the difference between the brightest and darkest parts of the image) exceeds what your camera’s sensor can capture in a single image.
In this case, you can use exposure bracketing to take a range of images with different exposure settings. These bracketed images are then combined in post-processing to create a final photo showing the scene's full dynamic range.
Pre-dawn and sunrise
When shooting deserts during morning twilight, whether shooting away from the sun or towards it, you’ll typically need to bracket your exposures to capture the complete dynamic range of the scene.
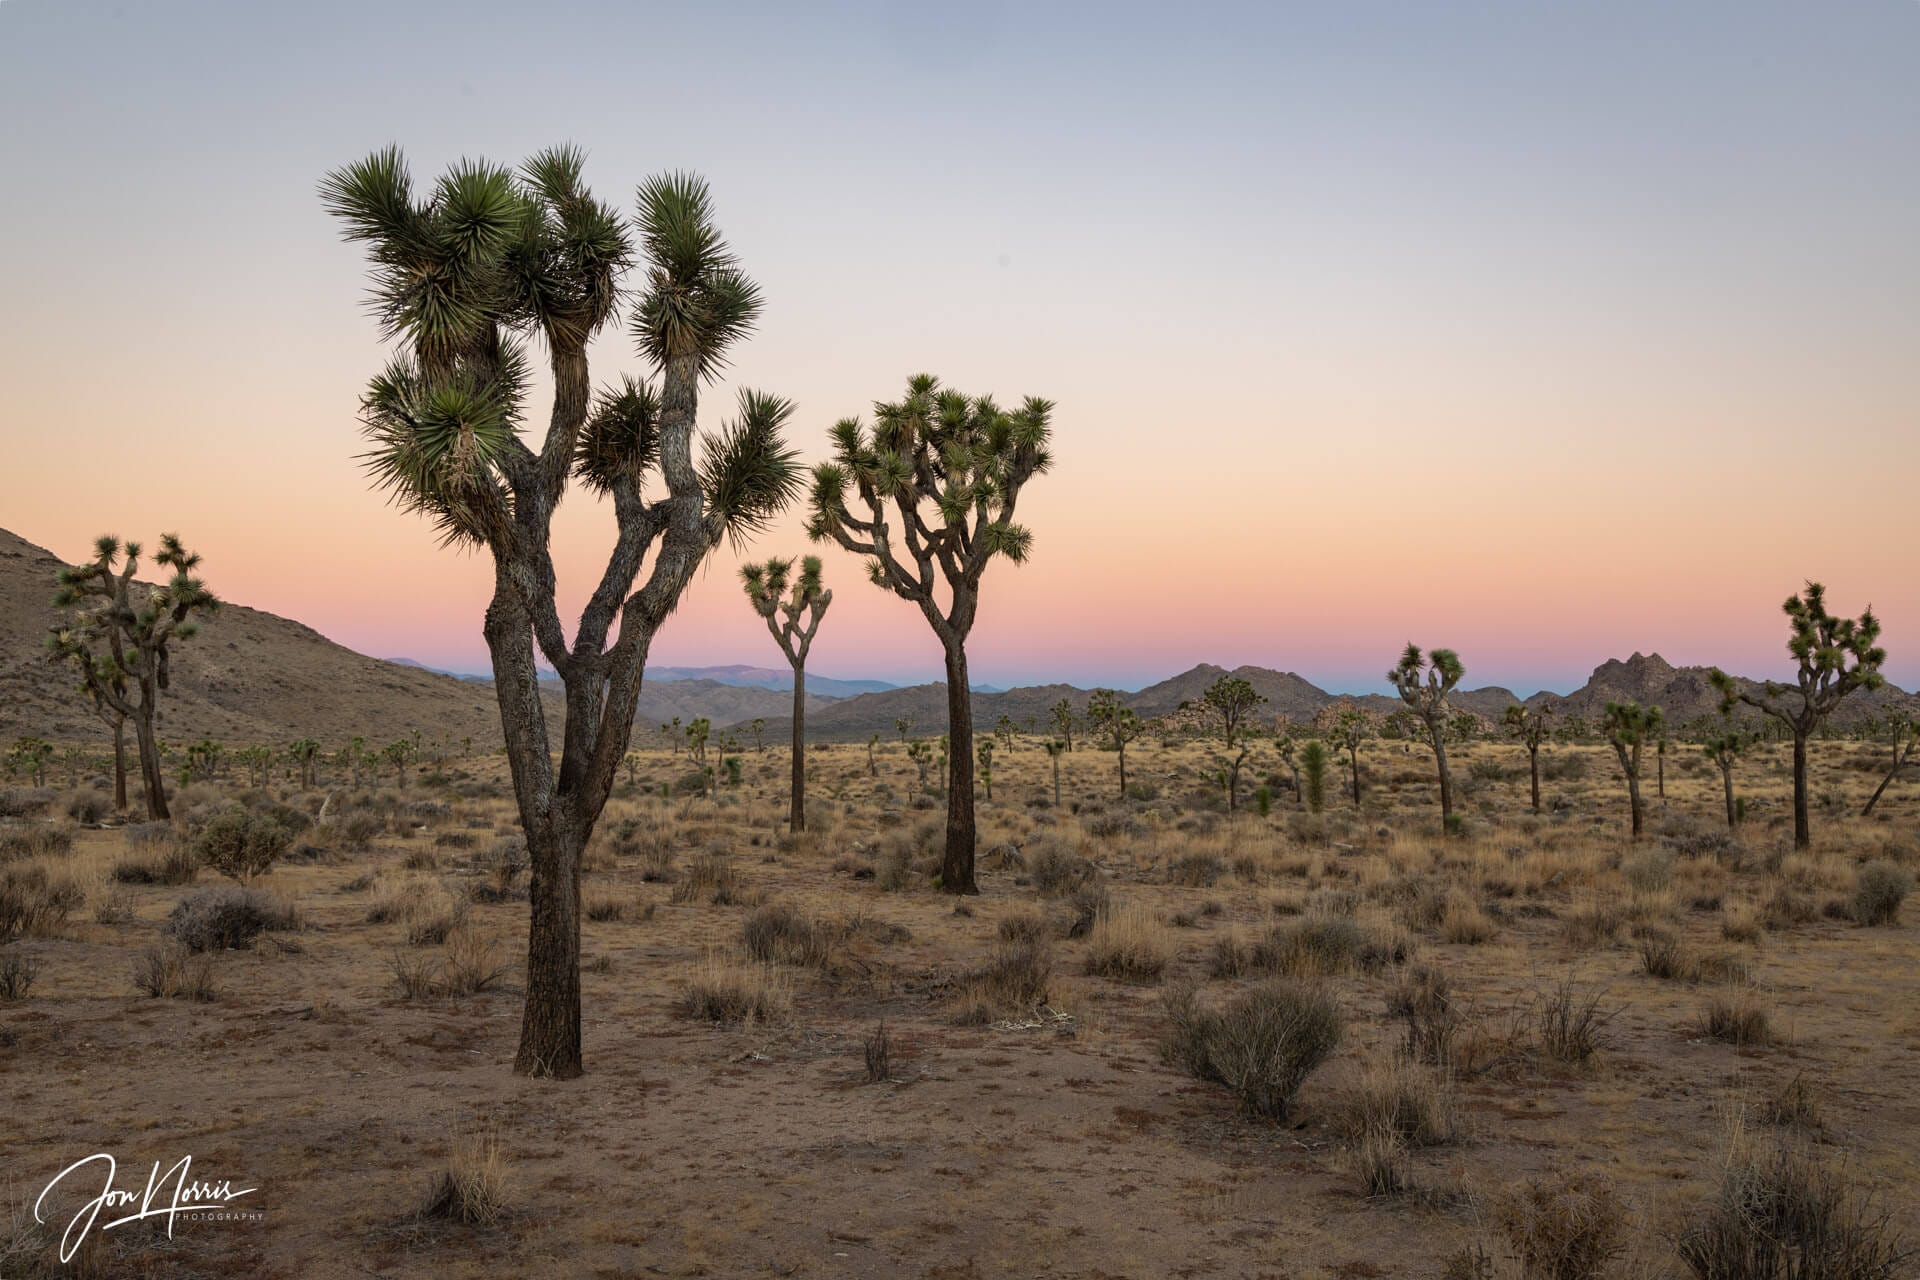
In the above image of the Belt of Venus (an atmospheric phenomenon visible shortly before sunrise during civil twilight, producing a pinkish glow) without bracketing exposures, you would have to choose whether to expose for the color gradient in the sky or the shadow detail of the Joshua Trees.
You would not have been able to capture both in a single exposure.
You can see both the color gradient and the shadow detail by bracketing exposures (and shooting a series of 5 to 7 images at 1-stop intervals) and combining the images in post-processing.
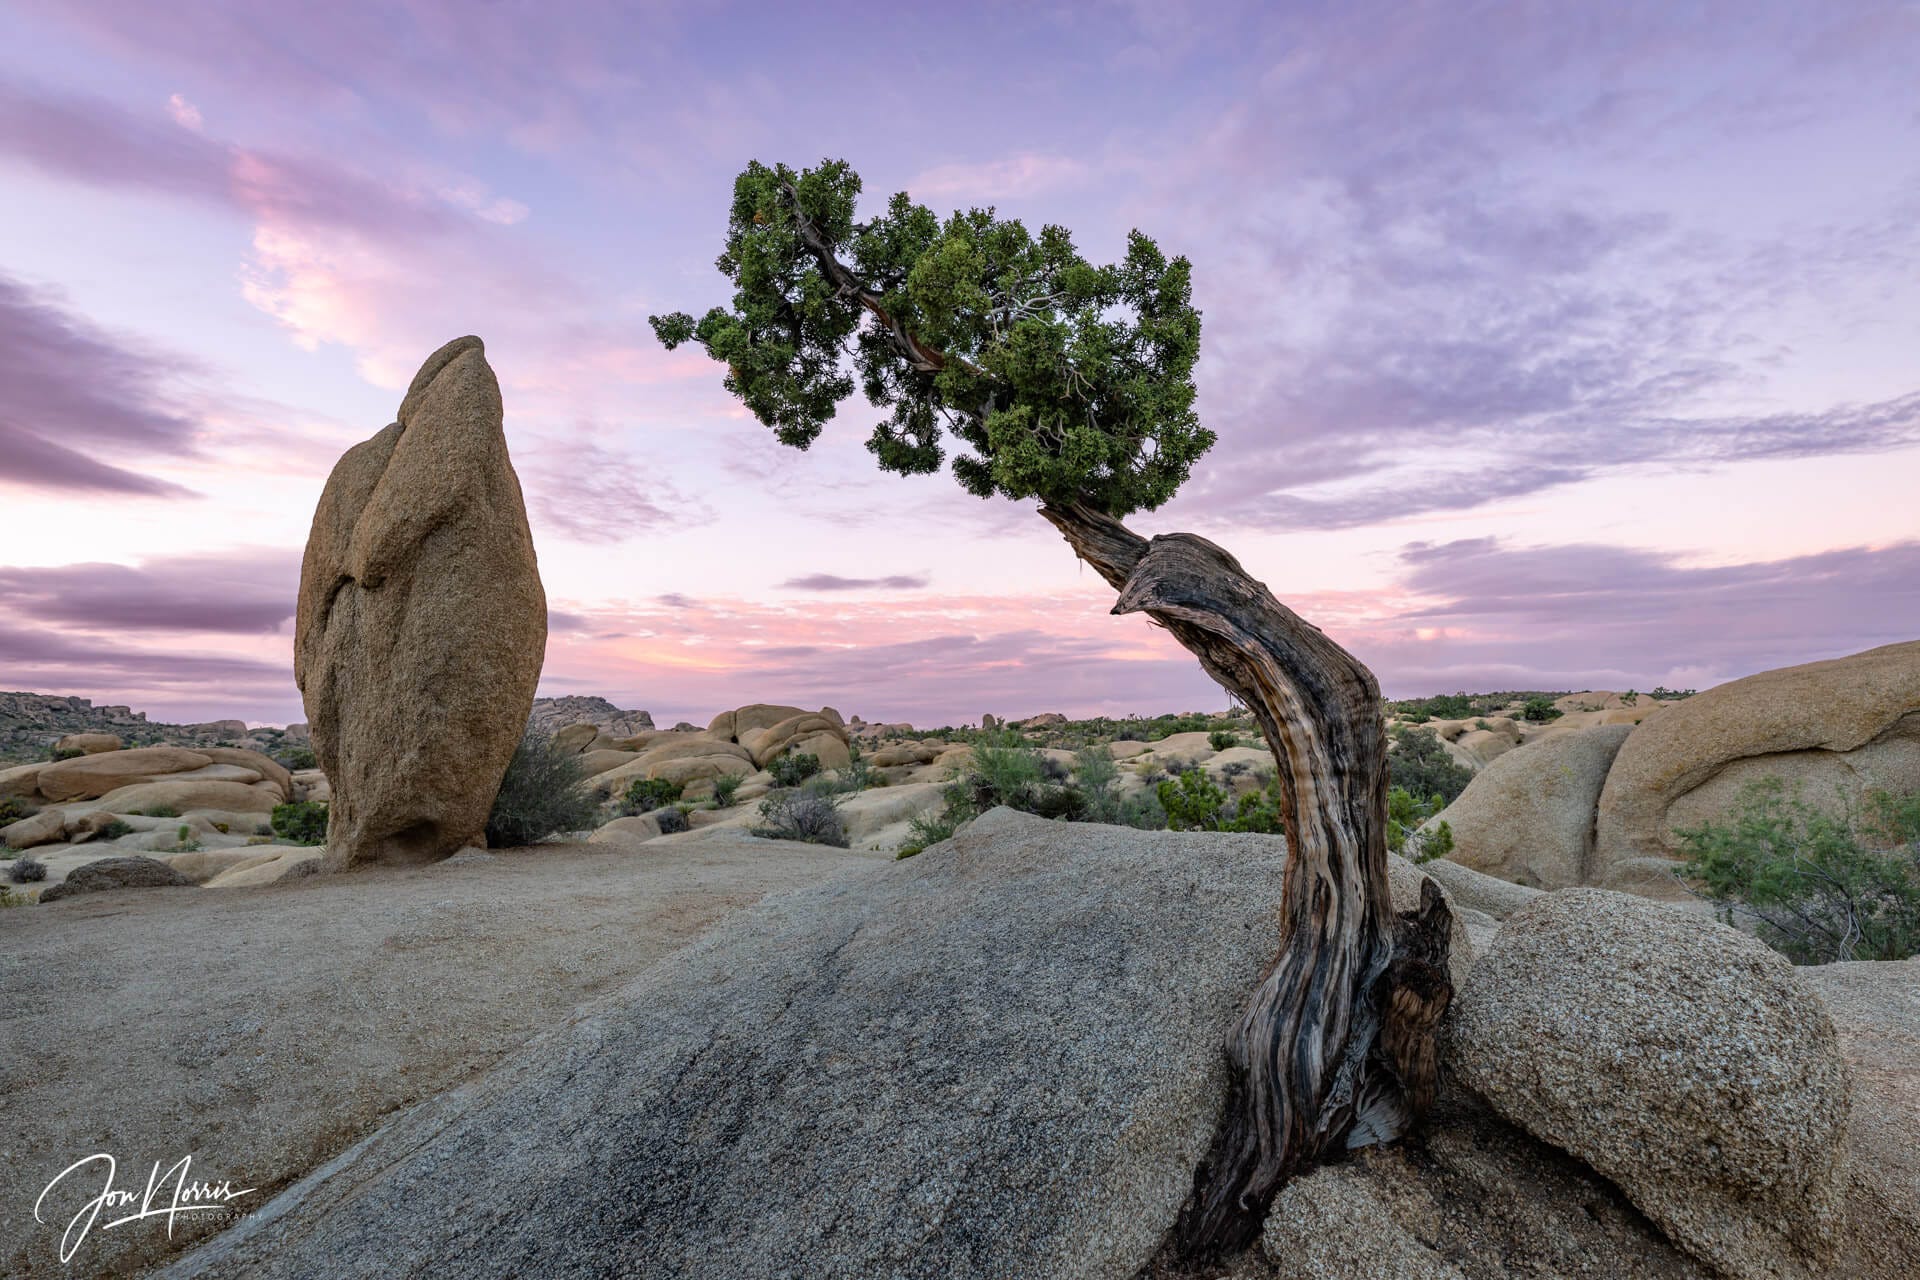
The example above, taken towards the rising sun, was also bracketed to include both the sky's colors and the foreground shadow detail of the rocks and Dwarf Juniper tree.
Daytime
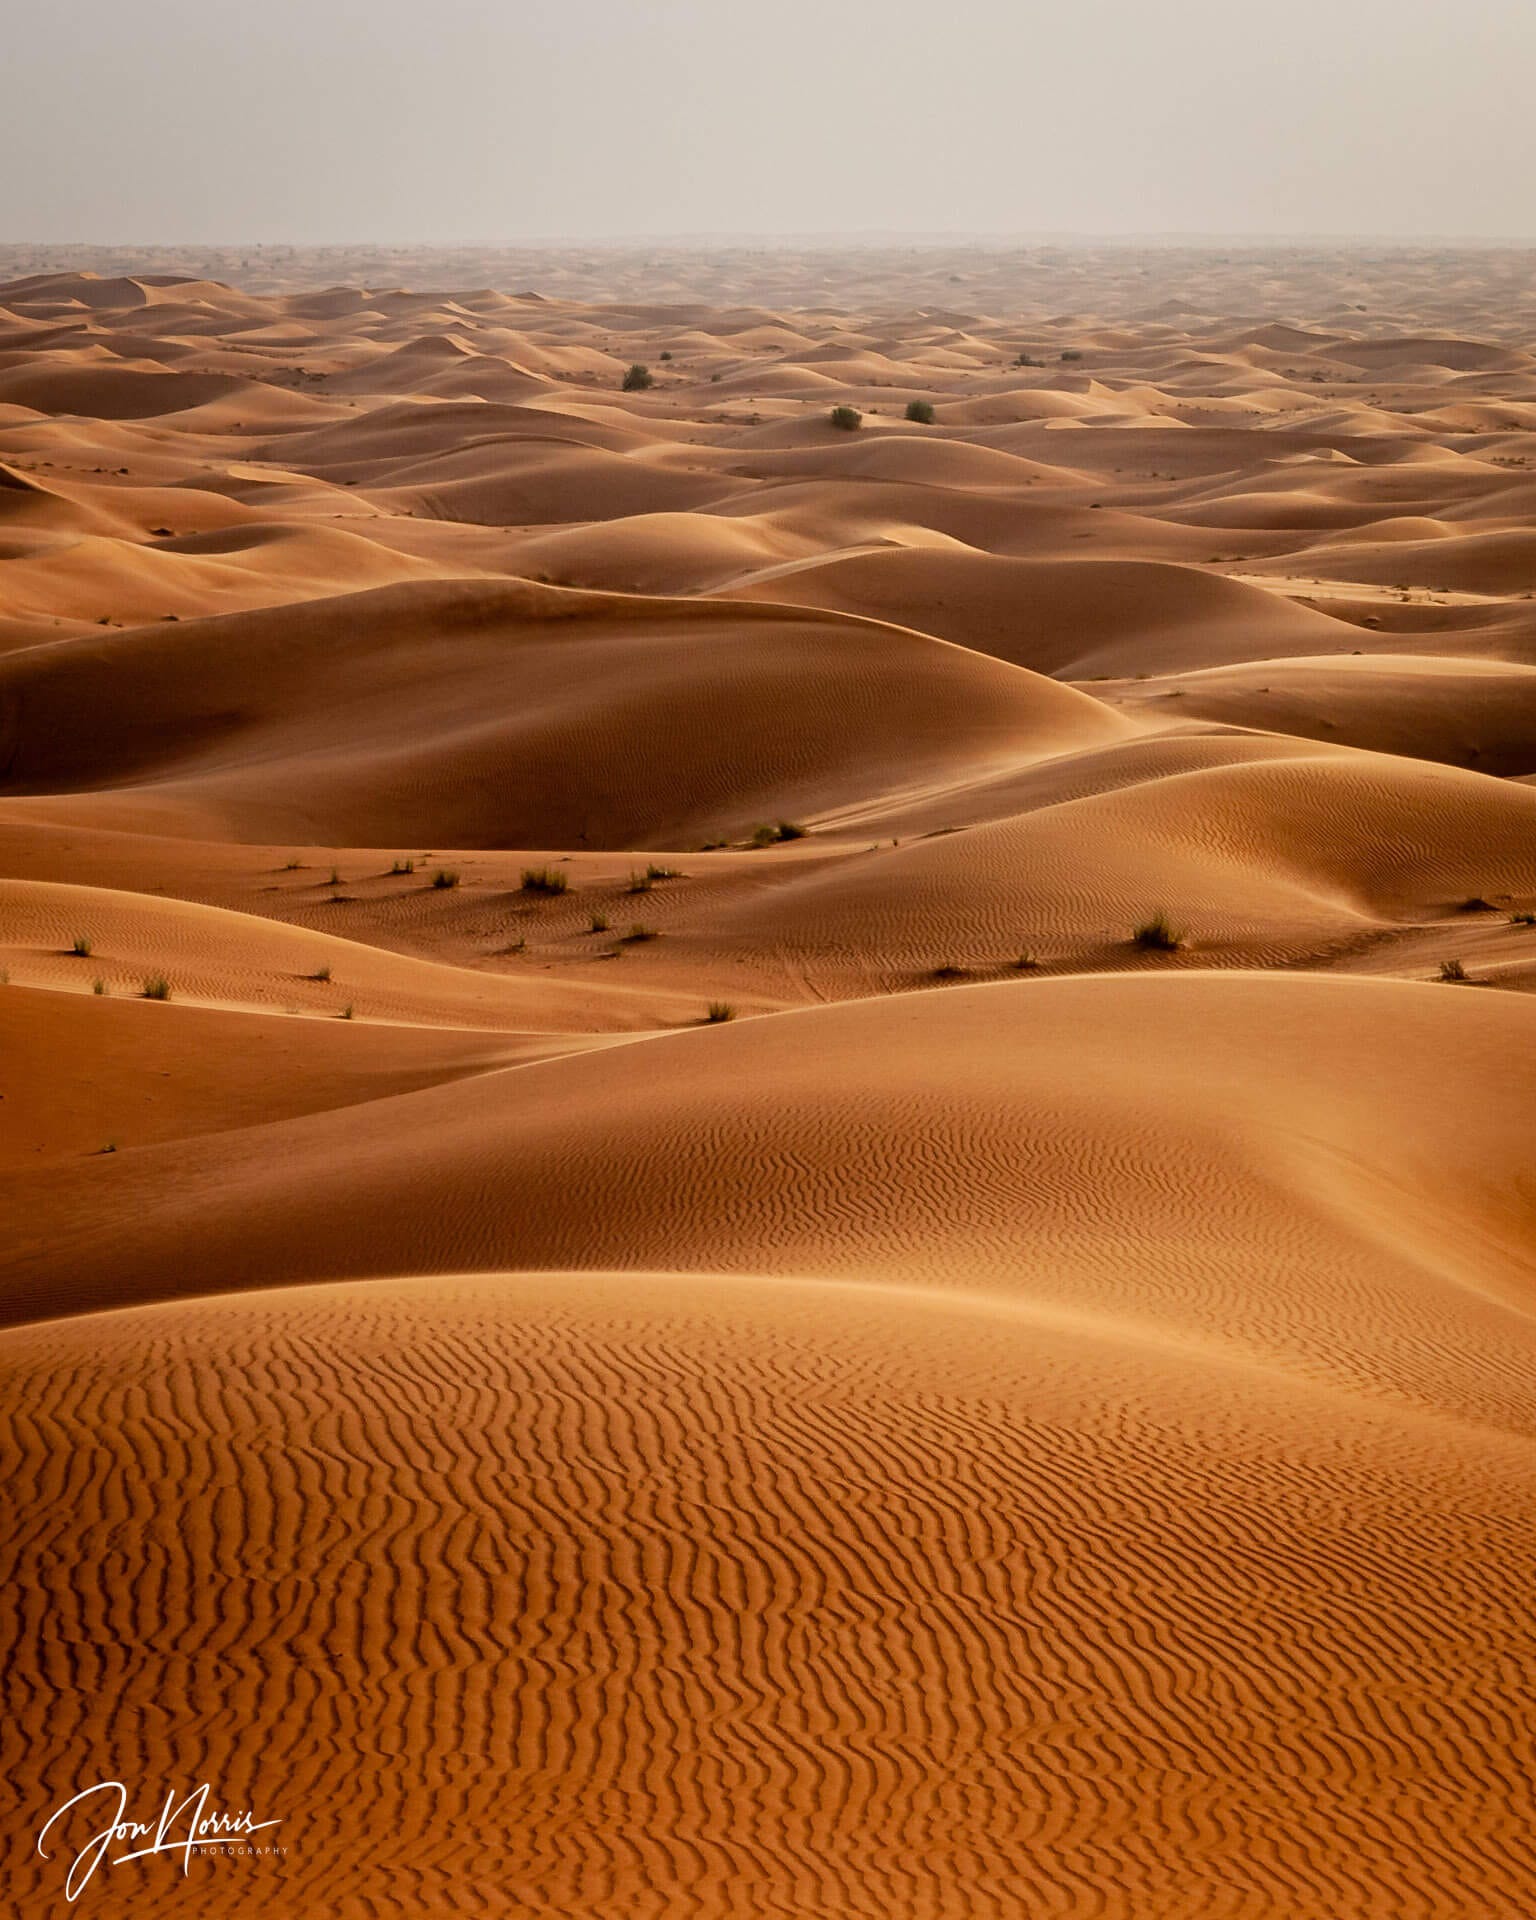
Once the sun is above the horizon and before it has risen too high in the sky, it is a great time to take single-frame images. Exposure bracketing will not be required because the dynamic range is reduced within the camera’s limits.
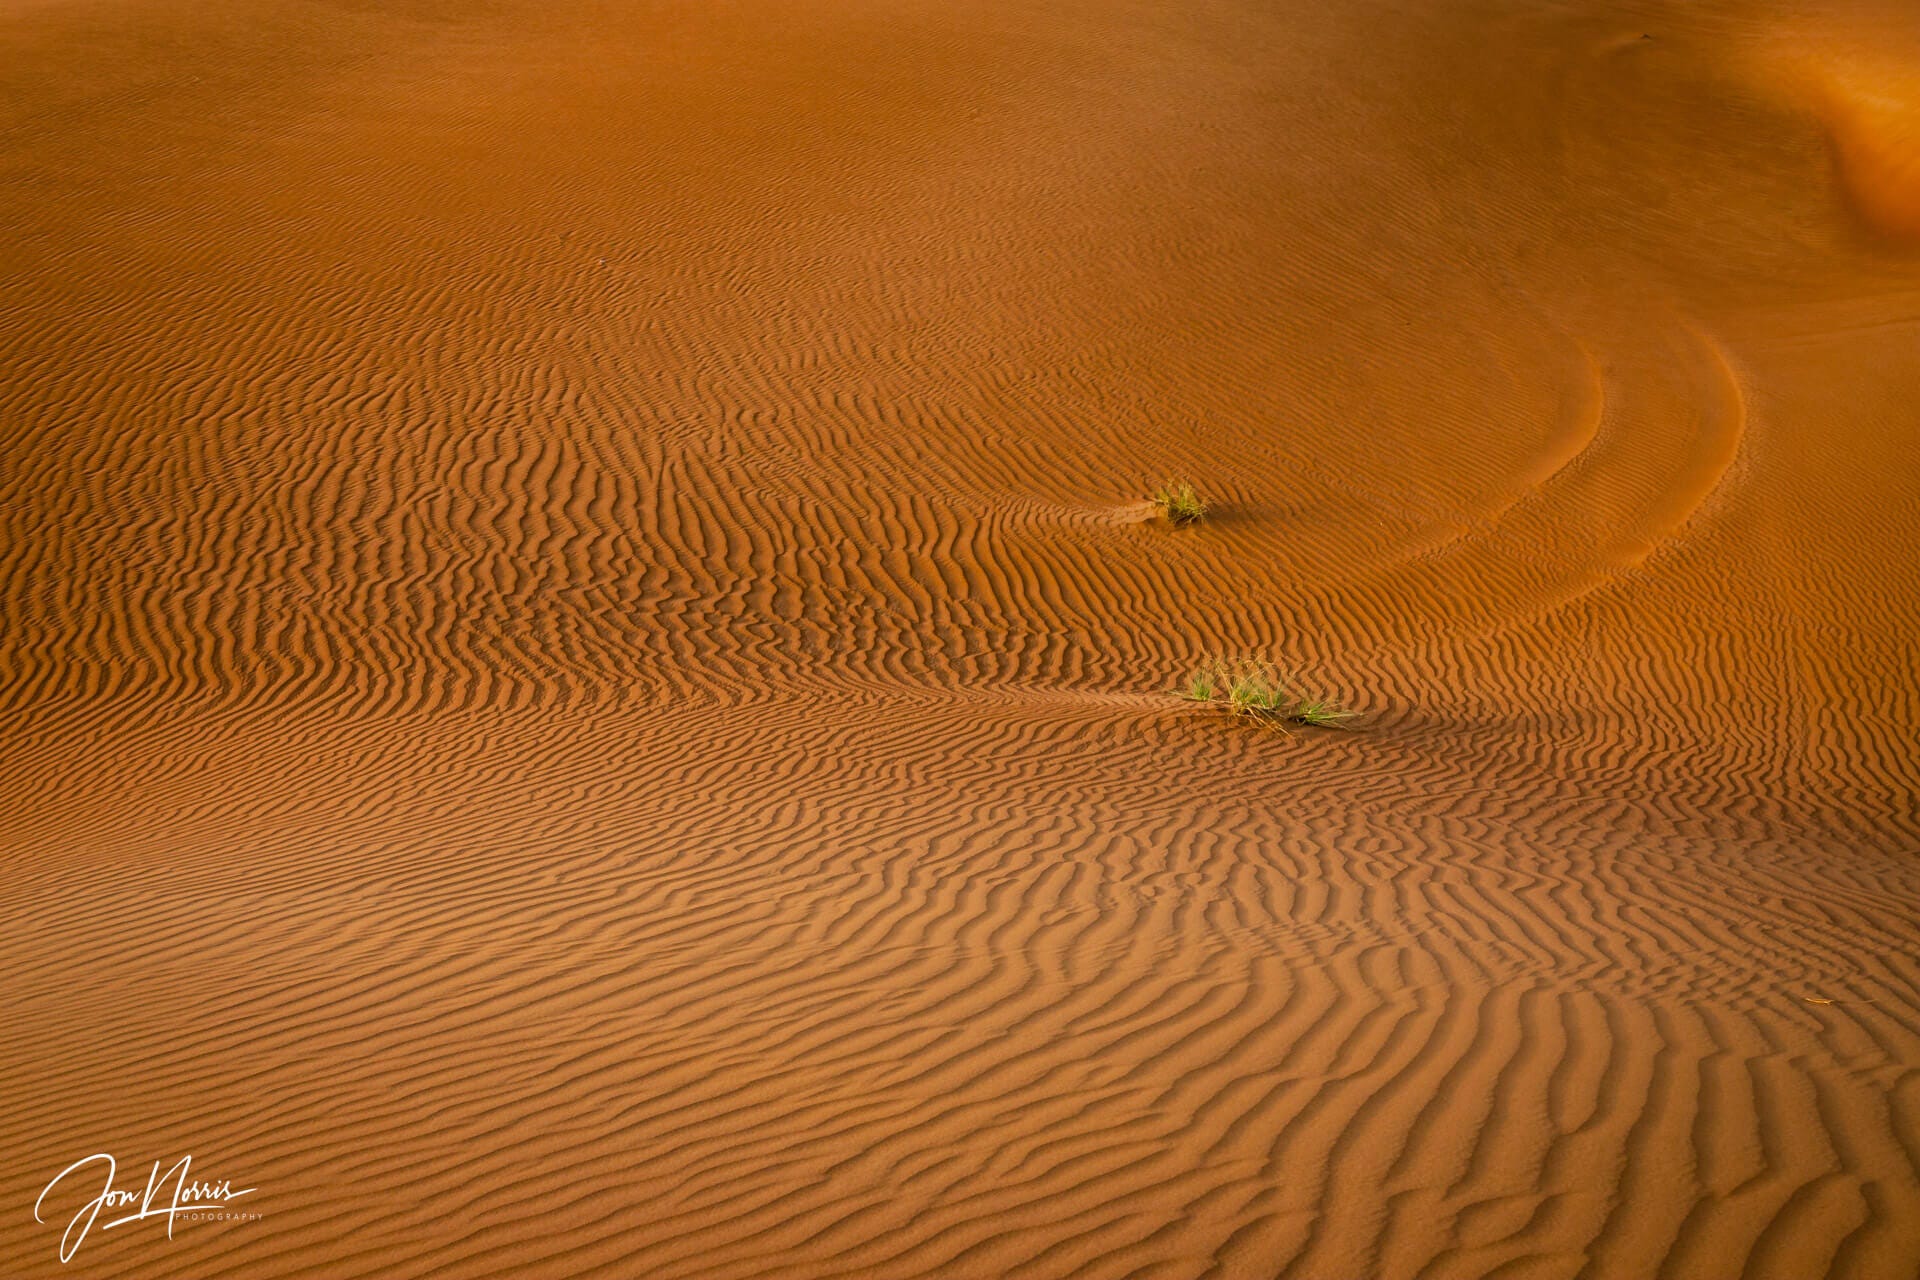
In this shot, taken while on a 4WD safari in the dunes outside Dubai, the morning sun picks out the ripples of the sand on the dunes without casting overly dark shadows.
Overcast skies
Sometimes, you may be blessed with an overcast sky during the morning with sufficient cloud cover to create a large softbox. This diffuses the sun’s harsh light and creates an even spread of light over the desert landscape with reduced contrast.
This is great light to shoot both expansive vistas and more intimate landscapes, as the harsh shadows are significantly reduced, providing a more pleasing, softer, and even light throughout the tonal range of your scene.
Details
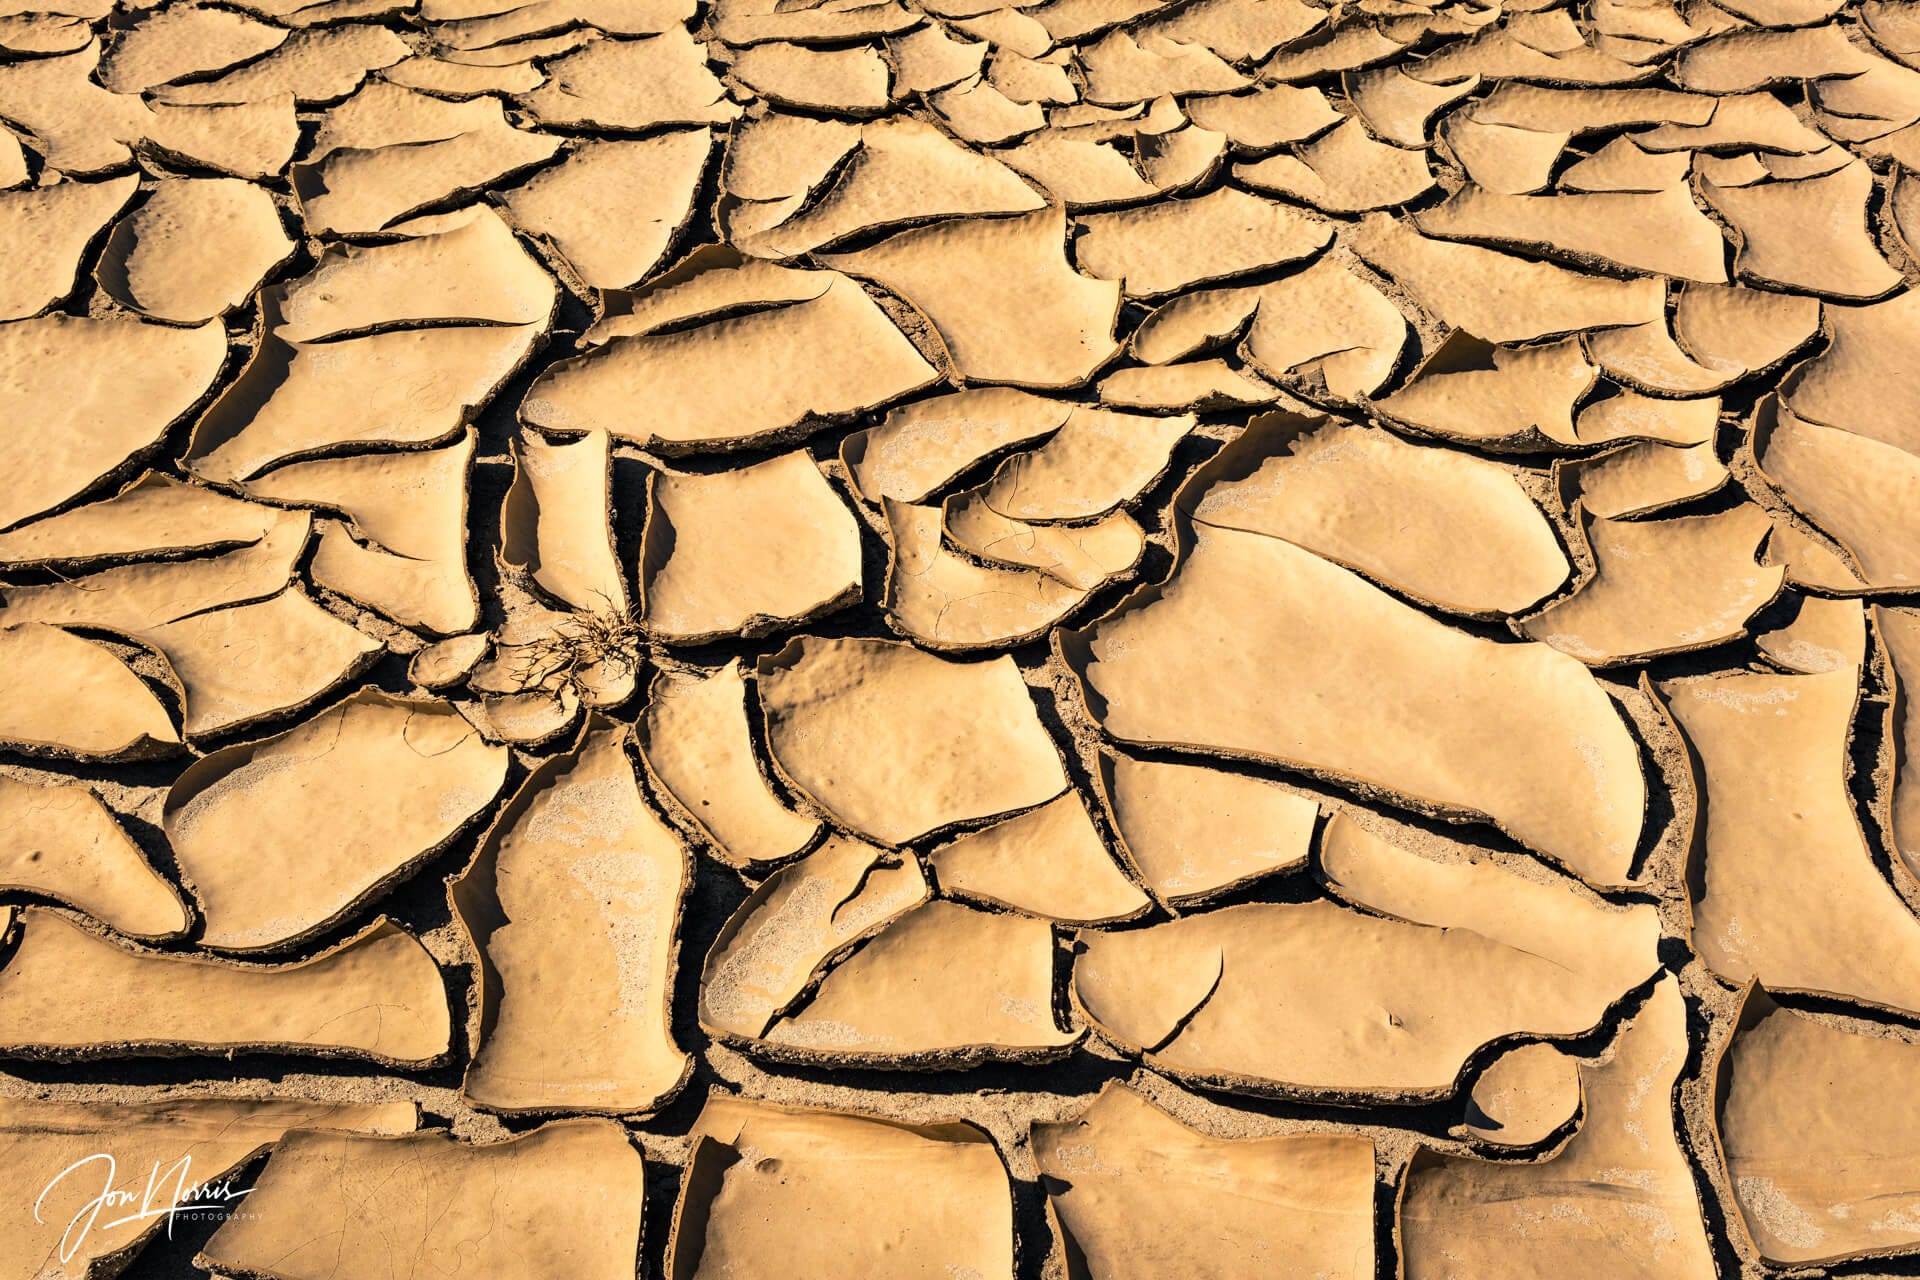
Harsh, direct, overhead light can often be used to good effect when photographing smaller details in the landscape, such as these mud tiles in Anza-Borrego Desert State Park in California.
The dark, deep shadows emphasize the curling edges of the mud tiles, giving them dimension and depth and contrasting with the highlights on the top surface of the tiles.
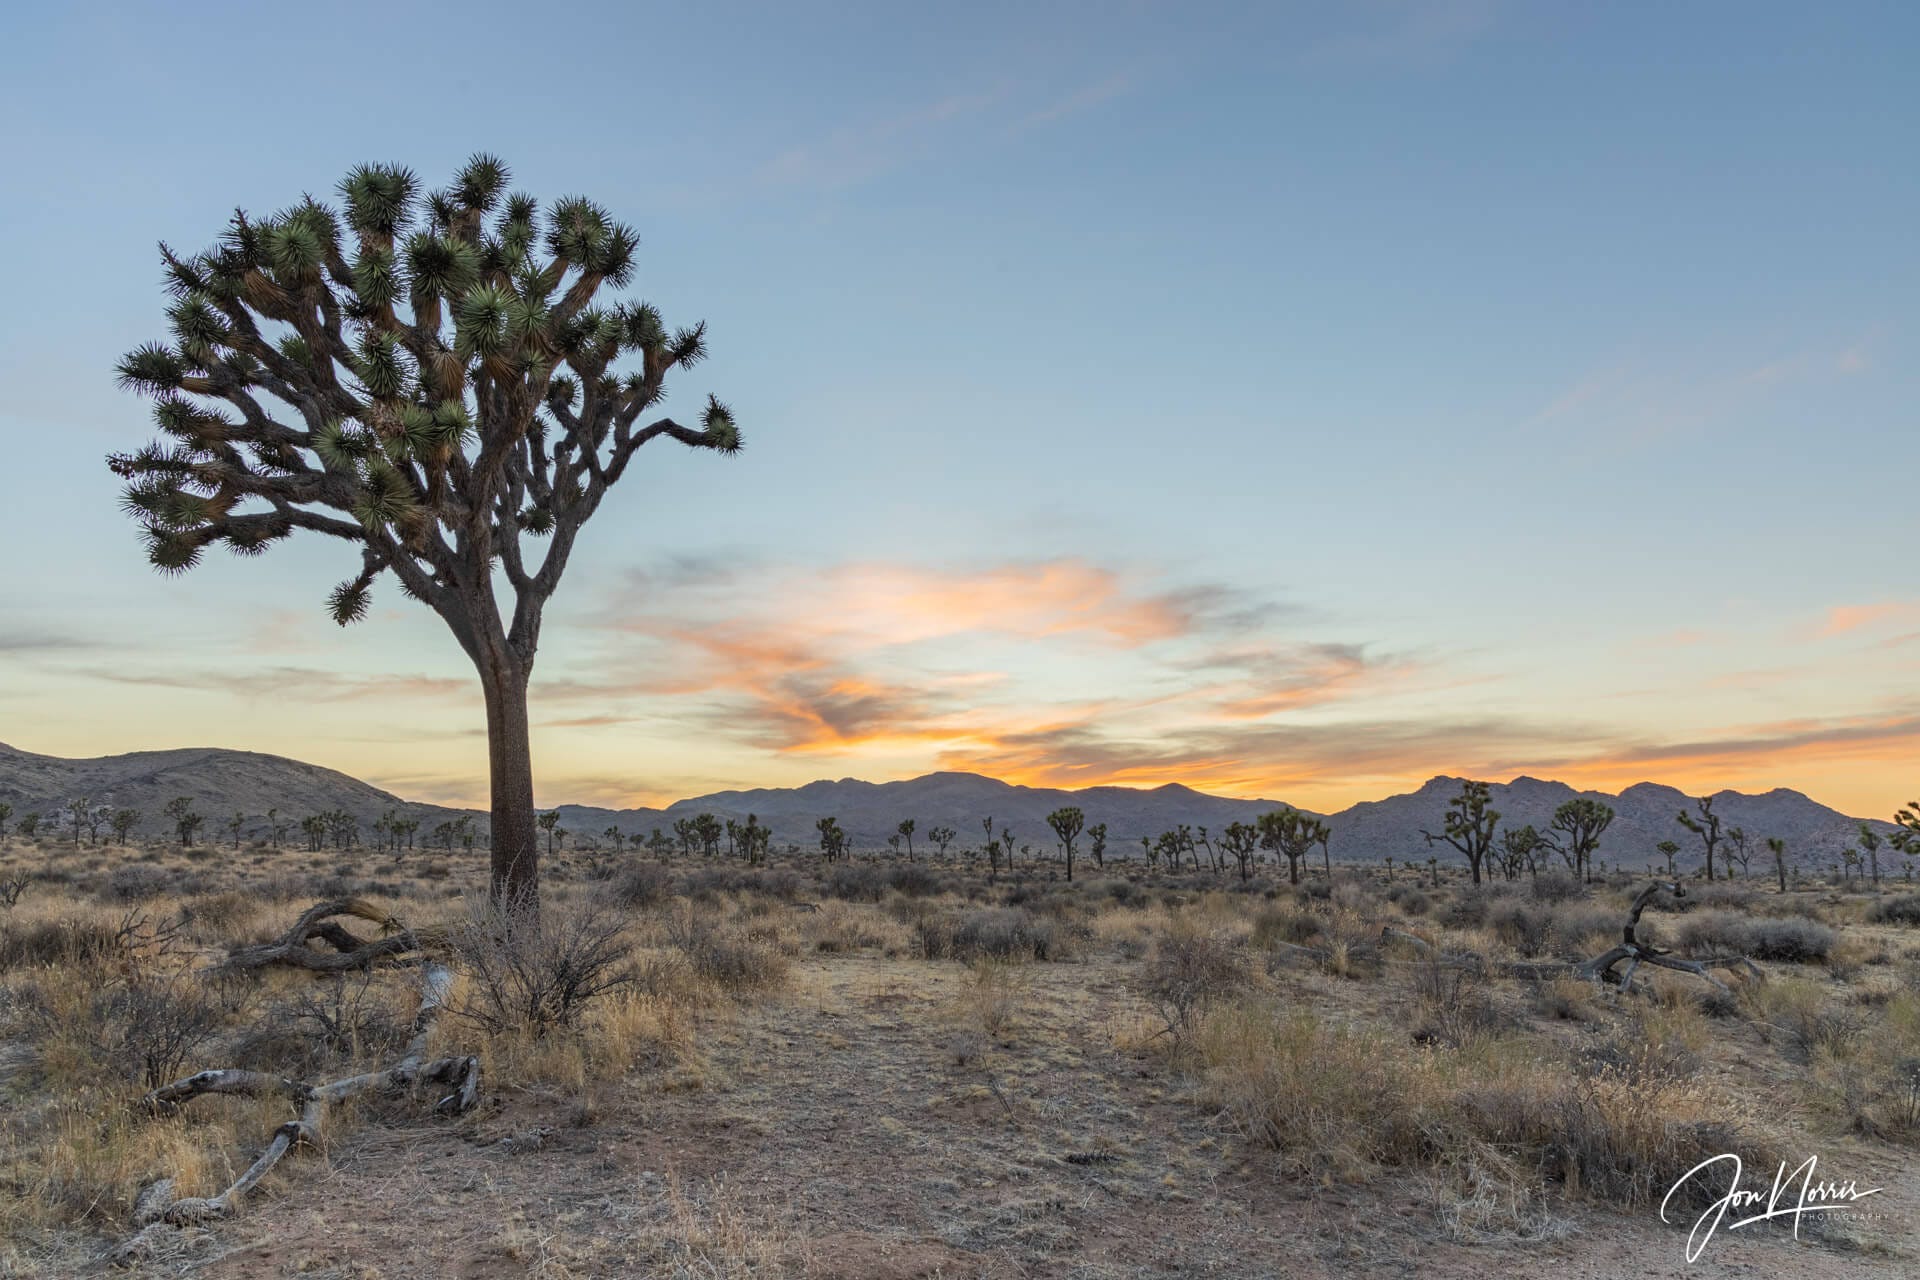
Black and white landscapes
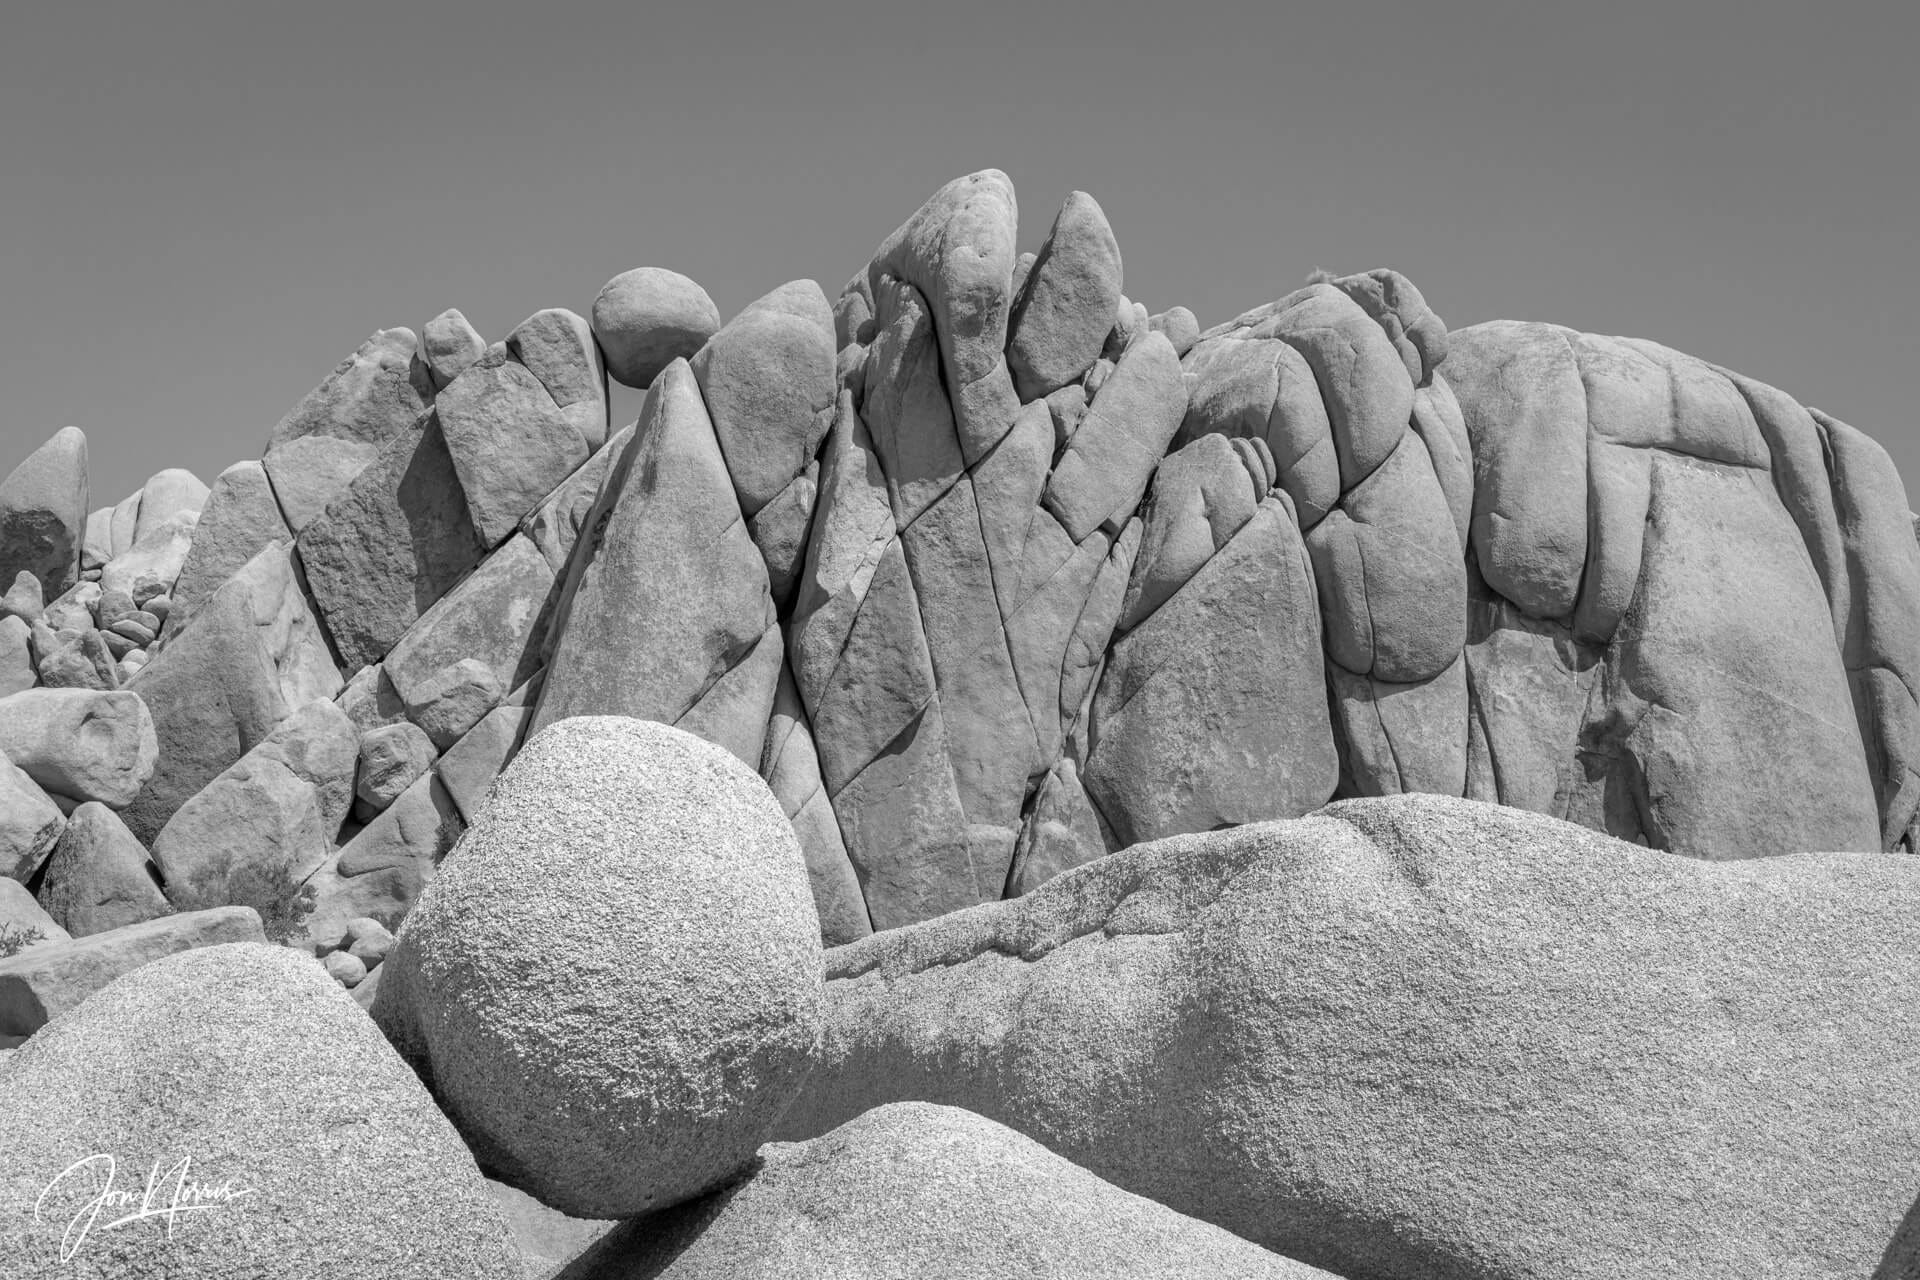
When the scene you want to shoot is a broader view of the landscape, and you have harsh, direct overhead light, you can minimize the amount of sky you include in the composition and shoot in black and white.
Most digital cameras (DSLR and Mirrorless) will let you compose in-camera as black-and-white by selecting the camera-back screen to display in monochrome.
This helps you pre-visualize how your scene's tones will work together in your composition.

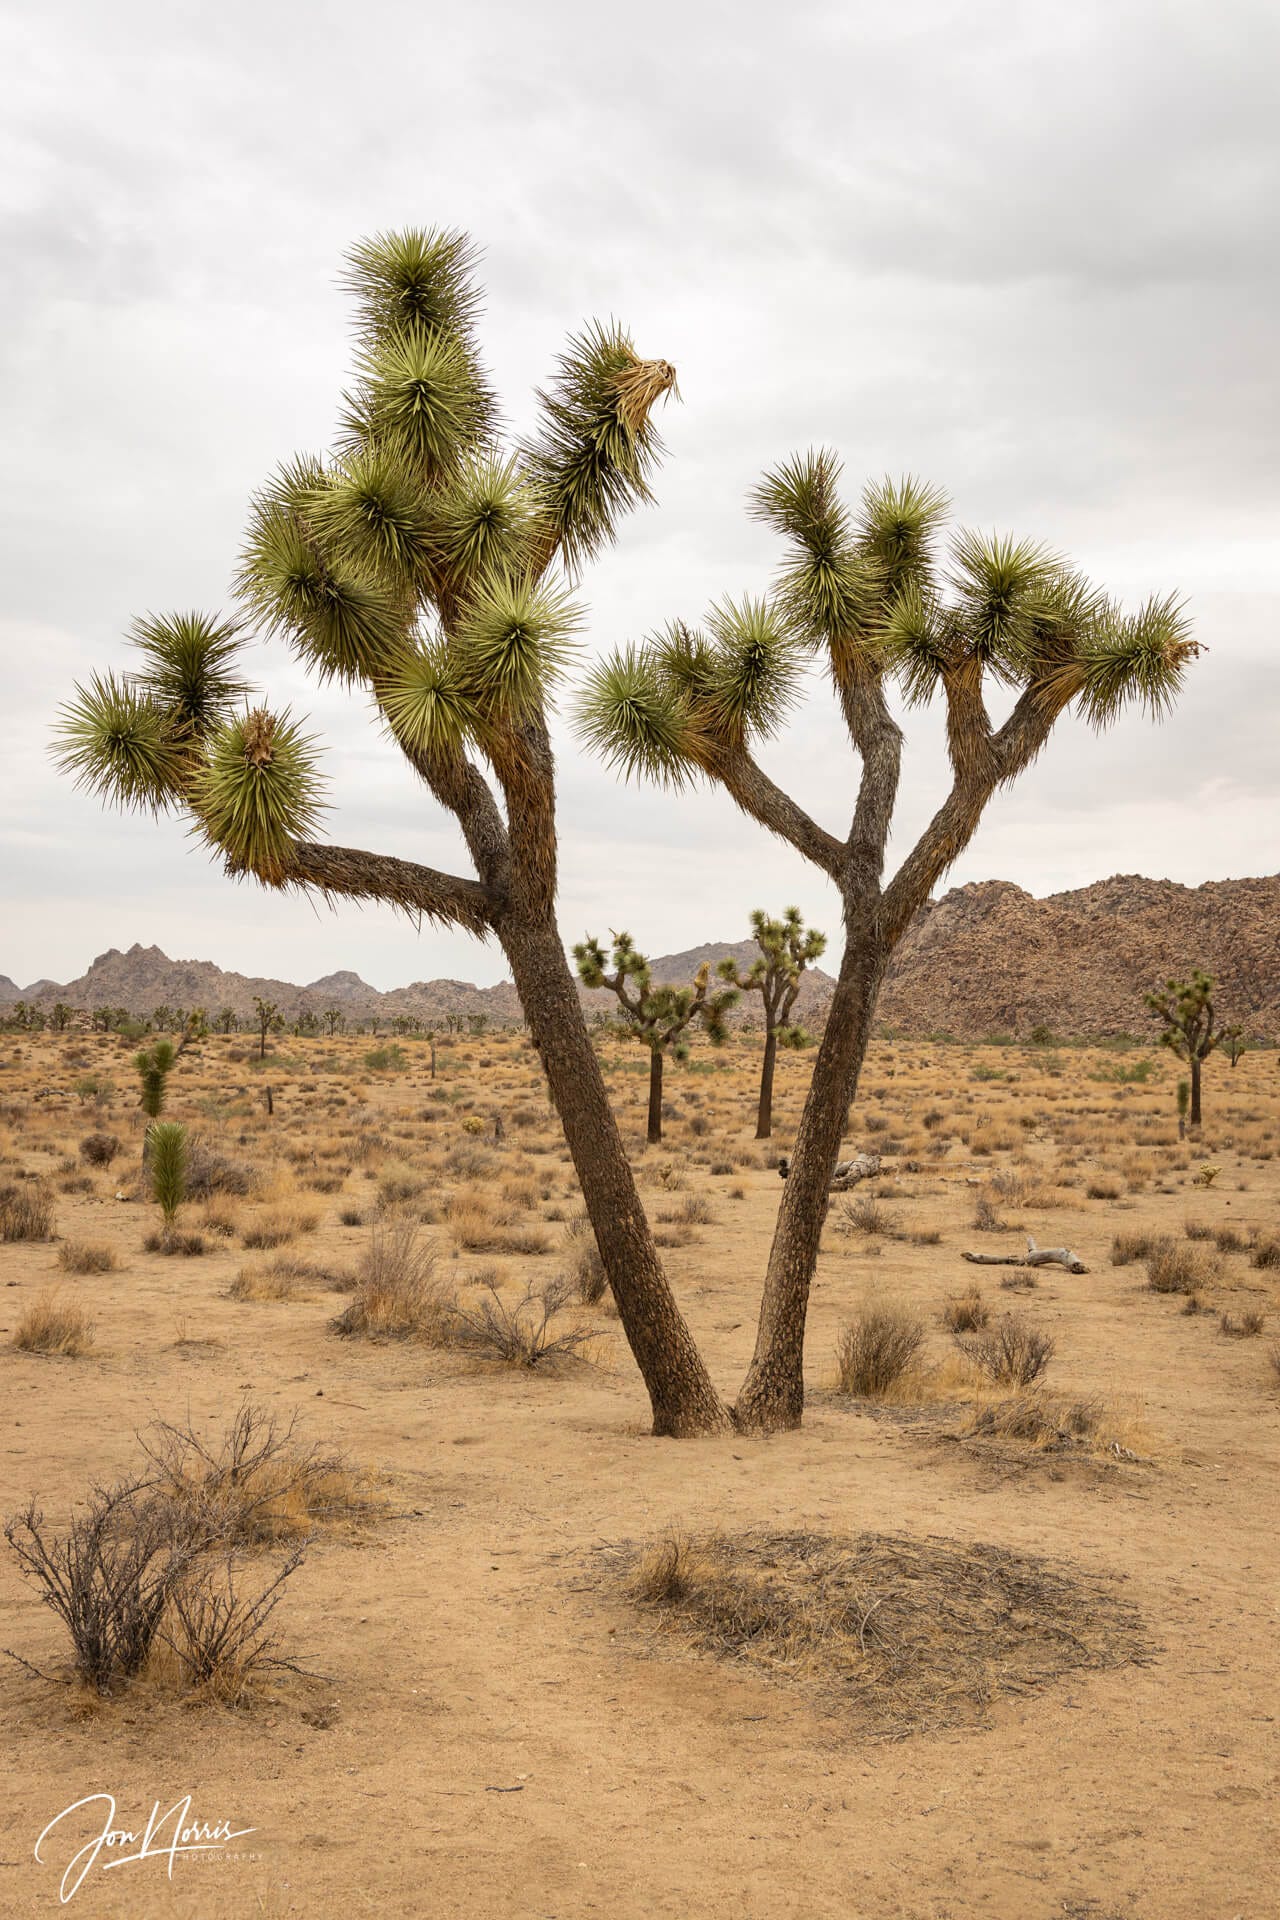
Another technique is to shoot a tree against the sky (not into the sun) and deliberately expose it to the right, creating a high-key image with minimal shadow or darker tones.
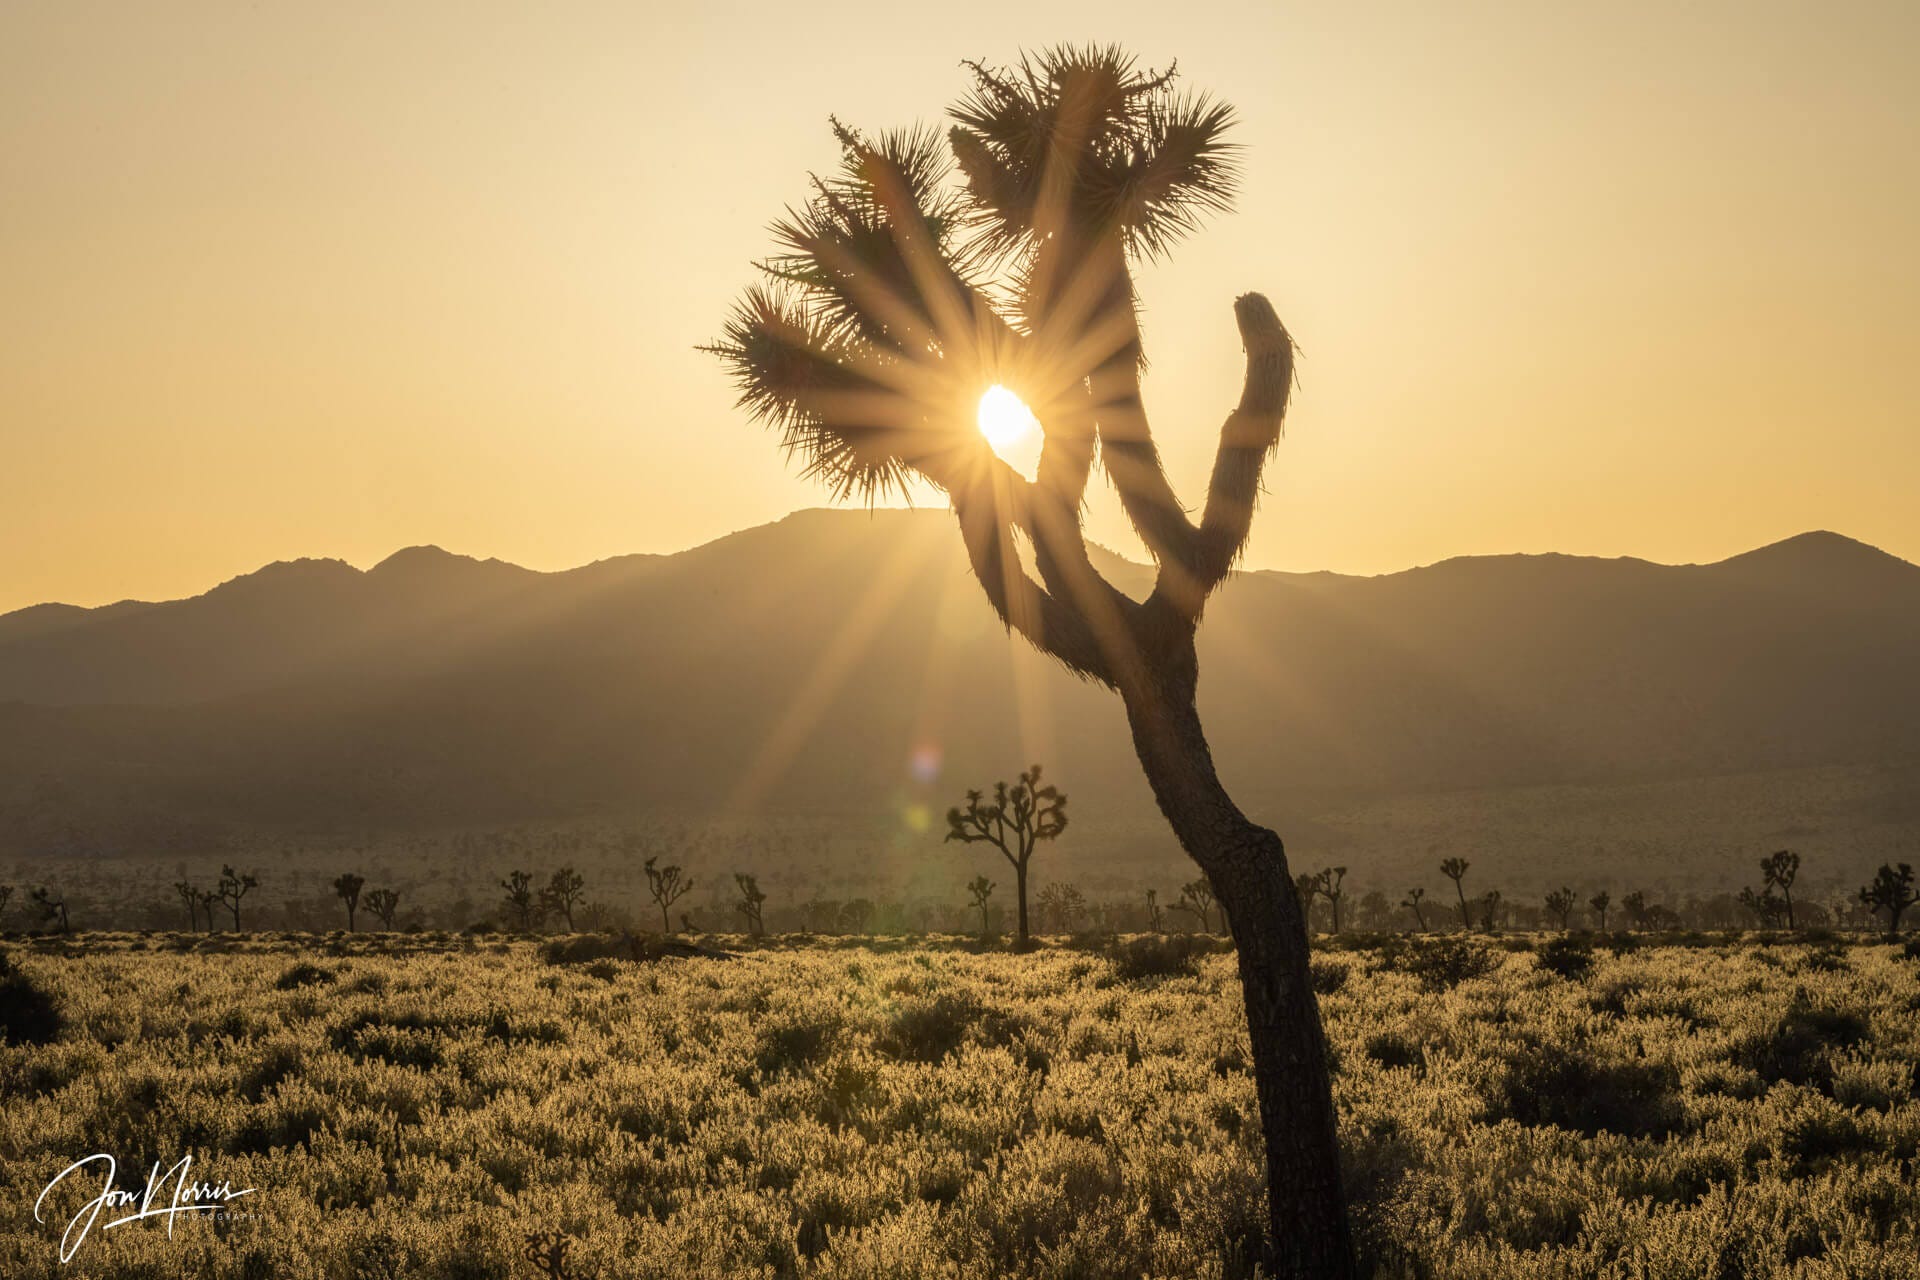
Late afternoon
Backlighting a tree and using a small aperture (f/16 or smaller) in the late afternoon will create a sunburst. Be sure to position the sun behind a tree trunk (or branch) to at least partially obscure the sun.
Backlighting also accentuates the smaller shrubs and grasses that often surround desert trees, giving interest and visual depth to the foreground and mid-ground of your composition.
Sunset
As the sun sets and during the evening twilight, similar to sunrise, it will be necessary to bracket your exposures and combine the images in post-processing.
This ensures that your final image combines the sky's colors (without blowing out the highlights) with shadow detail in the foreground and midground.
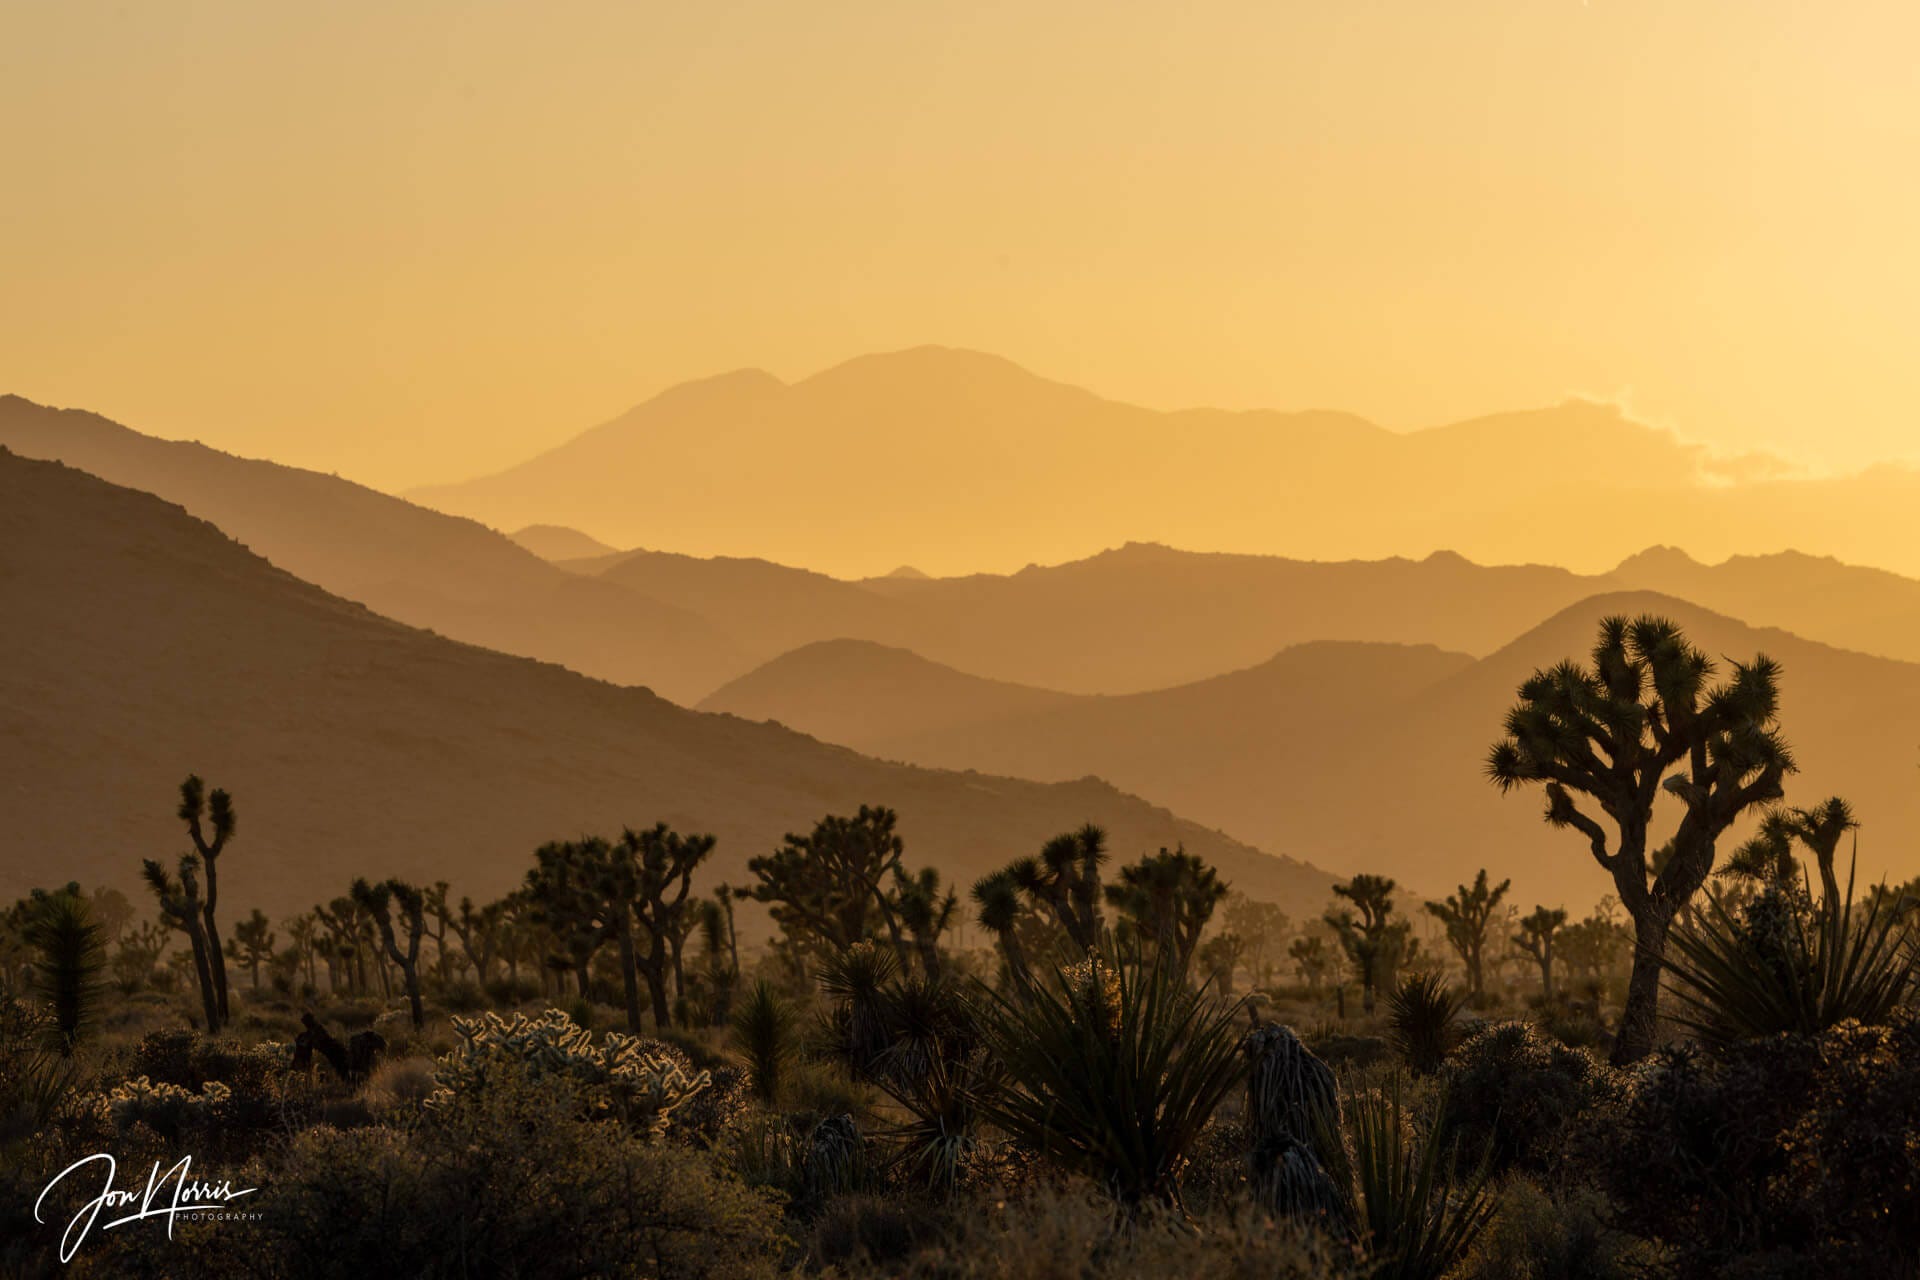
Another technique that works well at sunset (or at sunrise) is to use a telephoto lens (typically with a focal length of at least 200mm) to compress the layers of a scene and bring the background into the mid-ground.
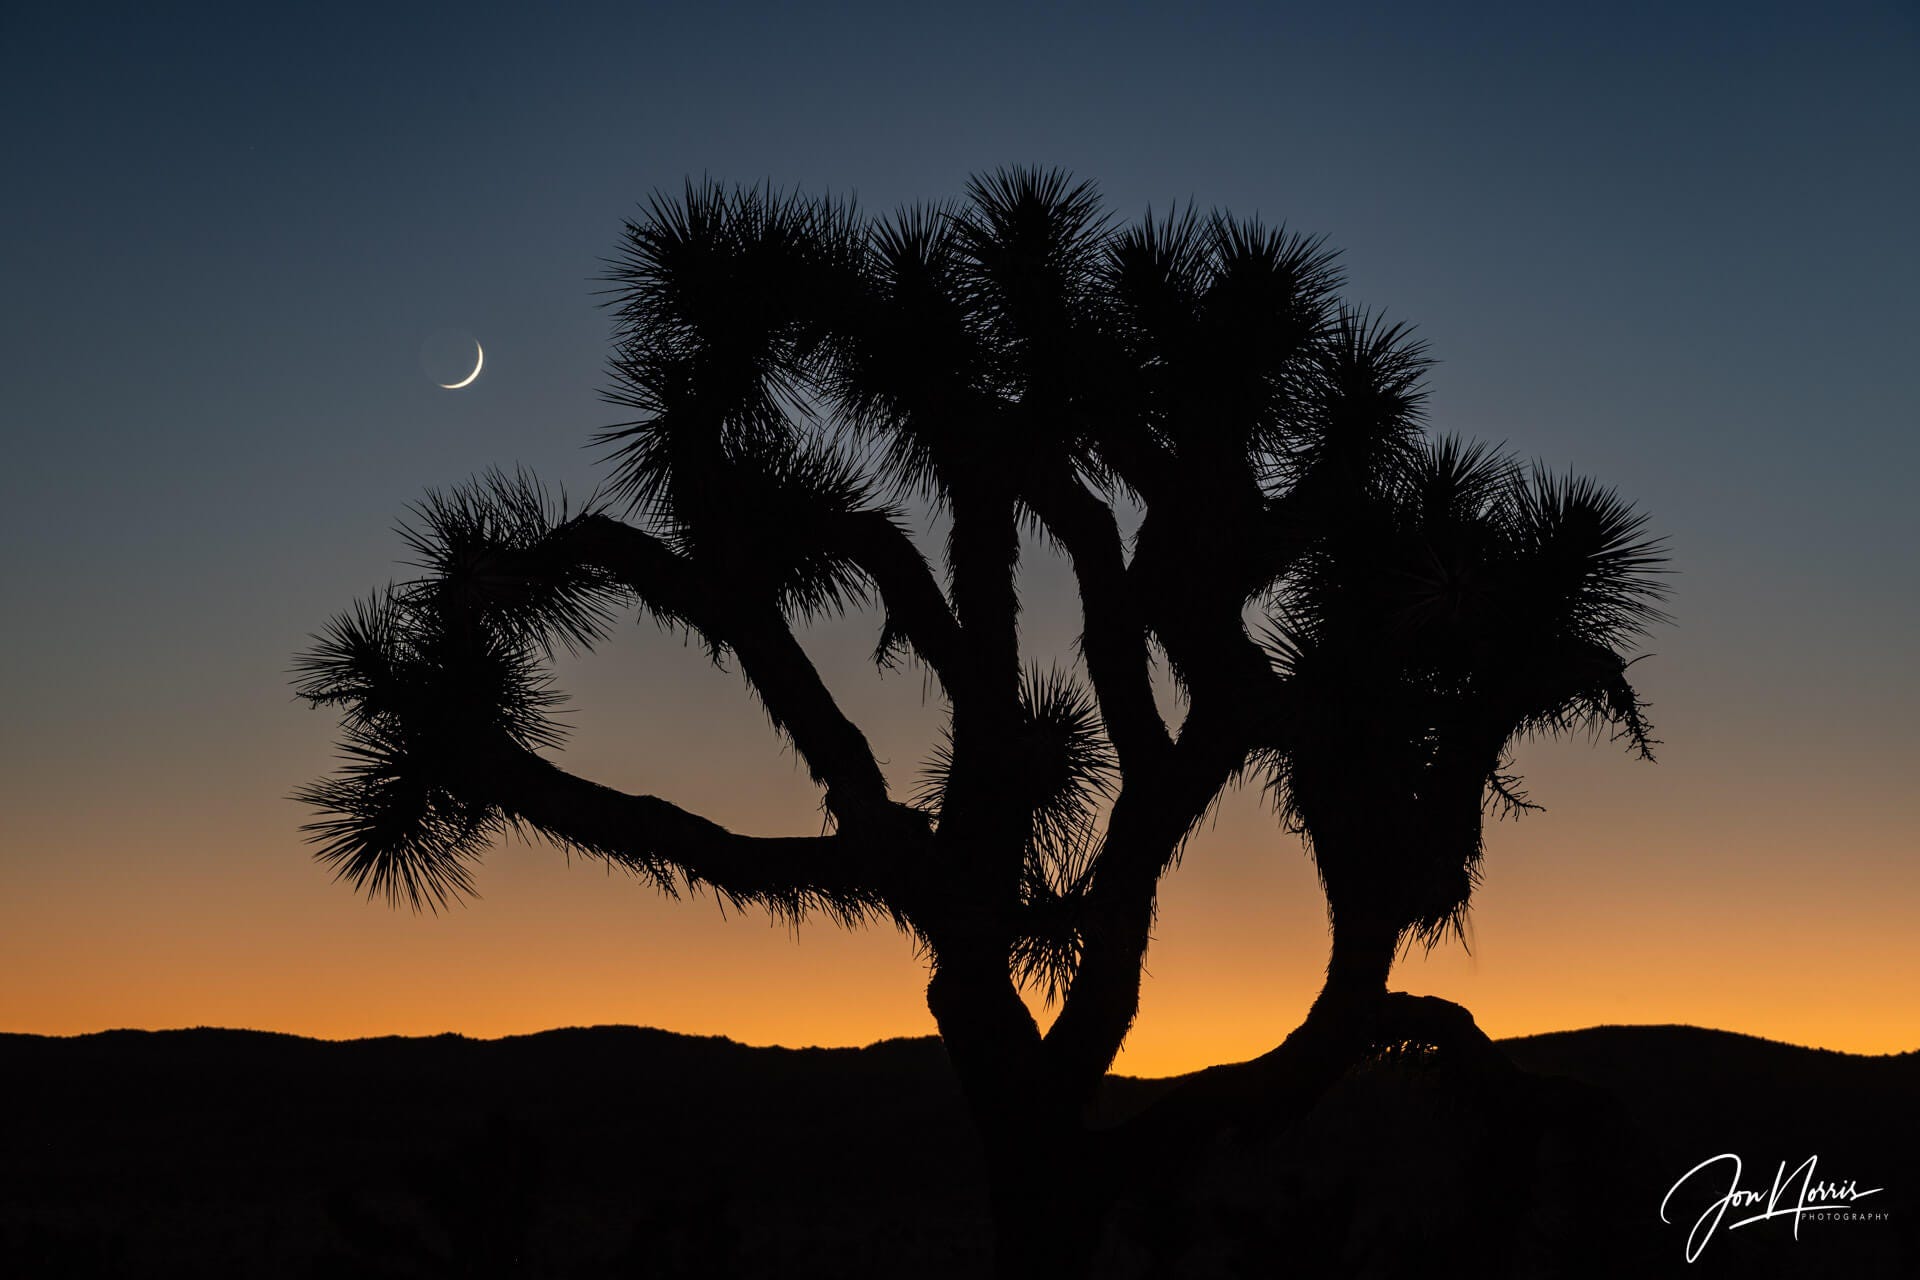
Twilight
Before packing up the camera and tripod and heading out to dinner, look for subjects that would make an attractive silhouette. The last light of the day often displays strong color gradients, such as this image taken at Hidden Valley in Joshua Tree National Park.
This is another shot that required exposure bracketing to ensure that the full dynamic range of tones (and colors) was captured and brought out in post-processing.
In conclusion
As we’ve seen, there is no such thing as bad light, even when shooting photographs in a desert.
Select a suitable subject for the available lighting conditions, manage exposure carefully by utilizing your histogram, and bracket exposures when required.
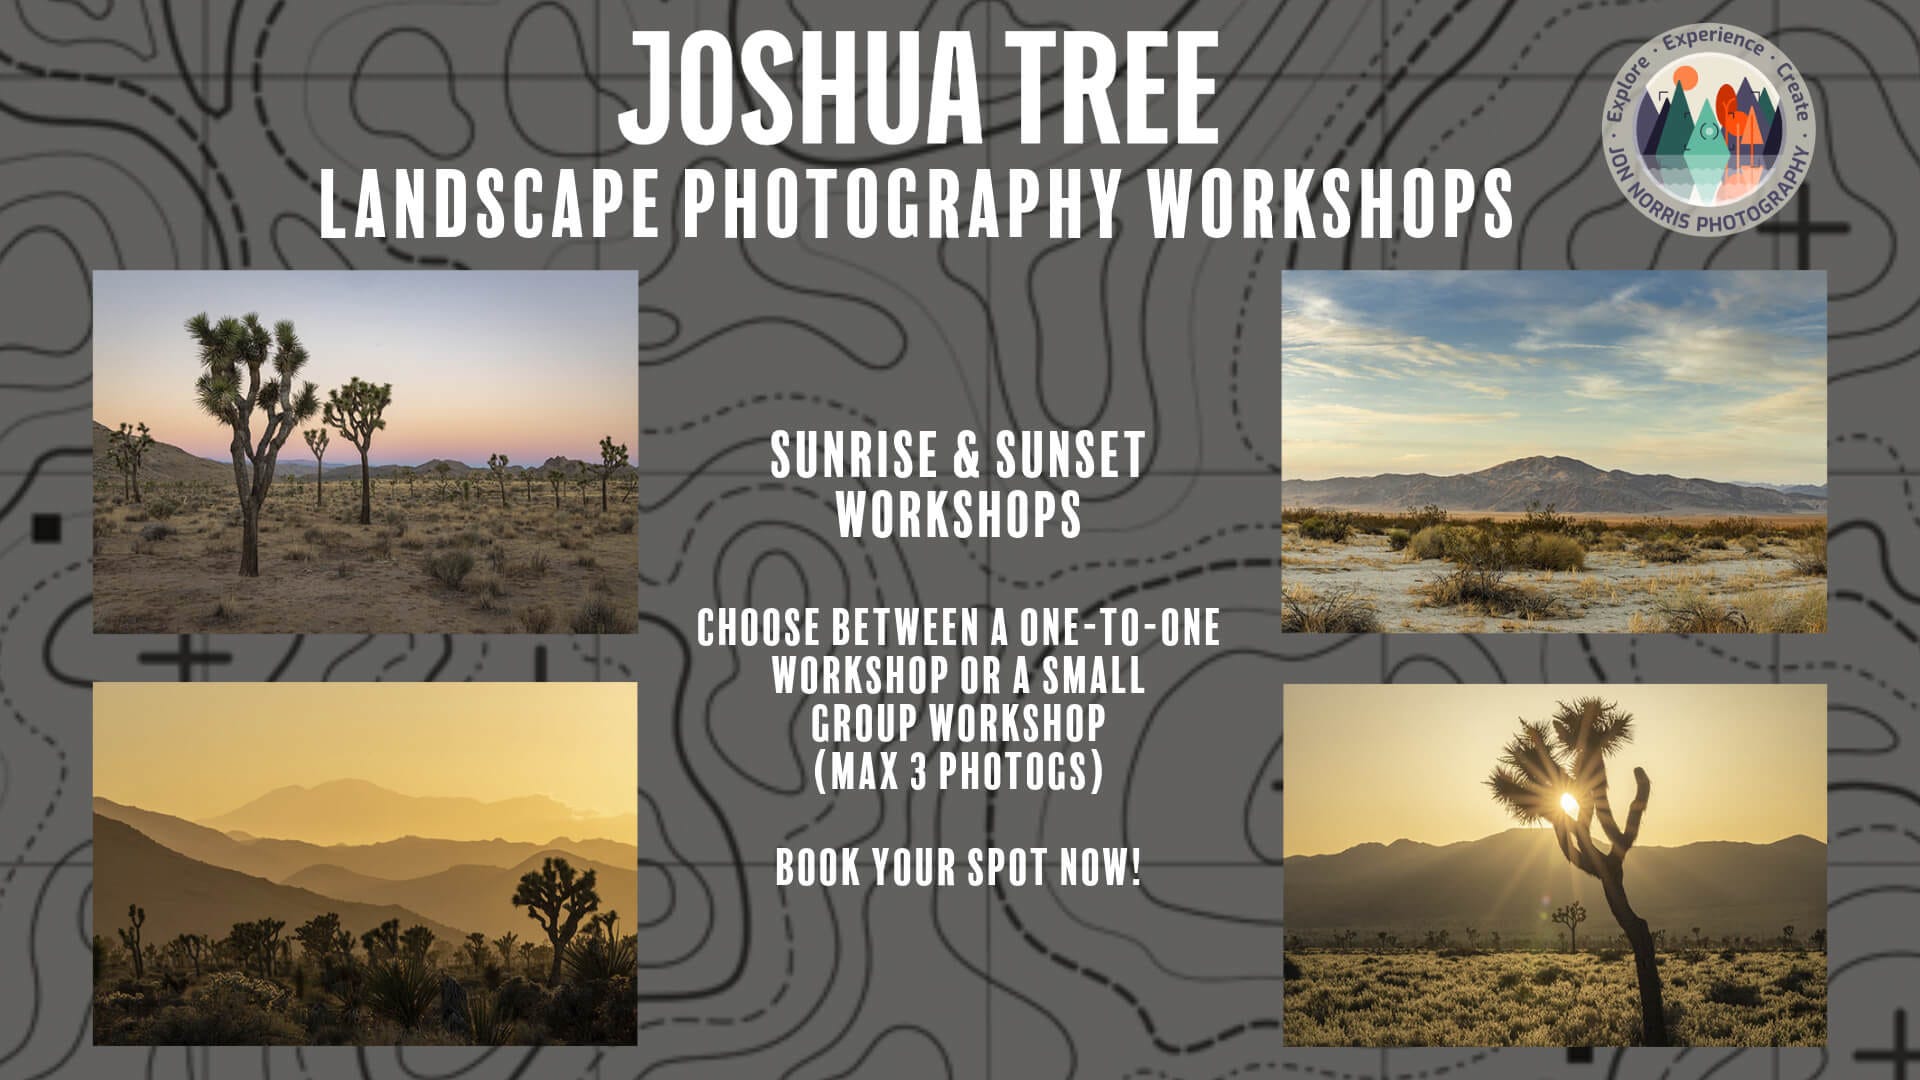
My workshops cater to all levels of photographers and include classic viewpoints and hidden gems. I'll ensure you're in the best place to take advantage of the light and weather conditions.
You can choose a one-to-one workshop (and personalize it to what you'd like to photograph, specific techniques, or how far you want to hike) or join a small group workshop (limited to 3 photographers).
My landscape photography retreats are like multiple workshops rolled into one, but they also focus more on your path as a creative photographer. Retreats offer focused, hands-on field classes on landscape photographic techniques, workflow, assignments for the day, daily critique sessions, and lessons on processing your images.
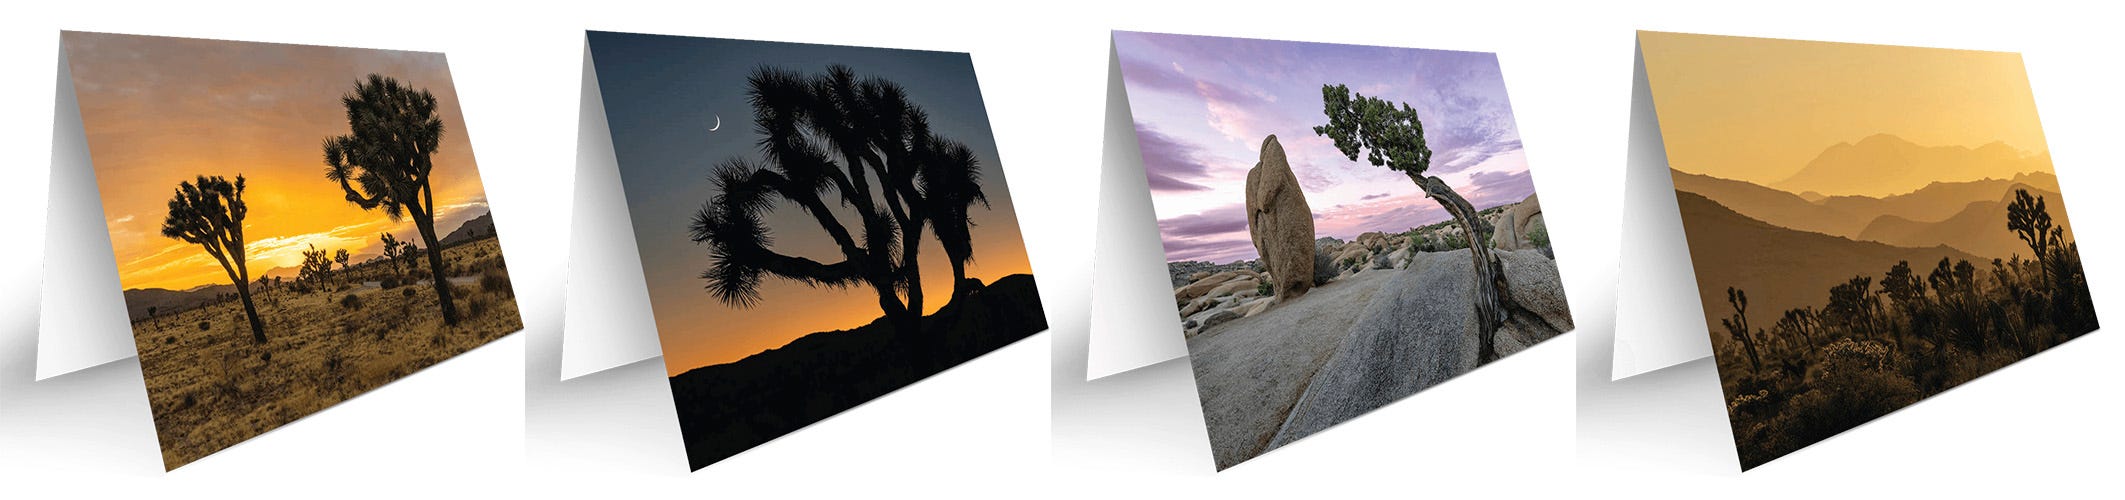
Discover the stunning beauty of Joshua Tree National Park through my exclusive range of landscape photography greeting cards! Each card showcases breathtaking scenes that capture the park's unique desert landscapes, iconic Joshua trees, vibrant sunrises, and sunsets. Embrace the spirit of adventure and gift a piece of the breathtaking Joshua Tree experience. Explore the collection today and bring a touch of the desert's magic to your correspondence!
Here are a few of my posts that you might be interested in reading:


Interesting musings, images, and art from others:
Walking Faroe Islands (part one) by Chris Arnade
Seeing the forest for the trees by Joe Callender
The Authoritarian Playbook by Melissa Del Bosque
Fall is Coming for You! by Sydney Michalski
Retro//Reflection - Issue #18 by Ronald Smeets
Why Printing Photos Will Make You A Better Photographer by Paul Einarsen
Colourised: 1746 Map of London Bridge and Surrounding Areas by Matt Brown
Over Half The World’s Population Still Lacks Access to Safe Drinking Water by Antarctic Sapiens
Newsletter #155 - The Deer by Noah Kalina
EuroTripping: Parisian Icons by Kewtiebird’s Photo Journey